Traditional Red Velvet Cake Recipe
This Traditional Red Velvet Cake Recipe has stood the test of time for a reason. It’s simple, dependable, and delivers that unmistakable old-fashioned flavor.
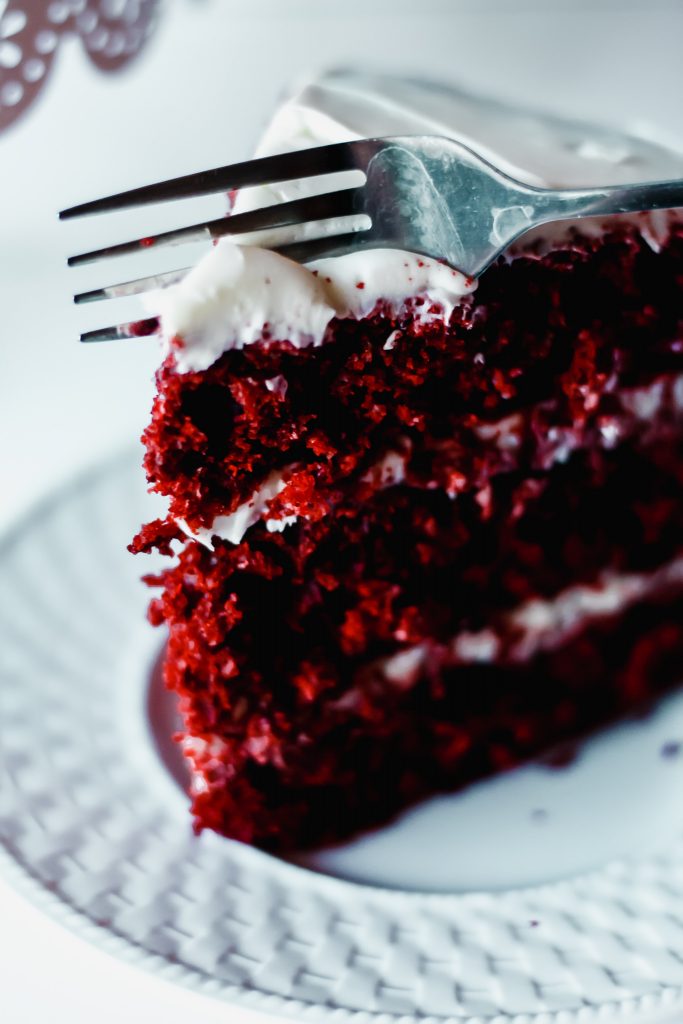
This cake recipe is soft, tender, lightly chocolatey, and perfectly balanced with tangy cream cheese frosting.
This red velvet recipe stays true to its roots, using pantry staples, buttermilk, vinegar, and cocoa powder for that signature flavor and texture that makes it famous.
It’s the kind of cake that shows up at holidays, birthdays, and special family gatherings—simple, nostalgic, and always a crowd-pleaser.

As an Amazon Associate, I earn from qualifying purchases. This post may contain affiliate links, meaning I may receive a small commission at no extra cost to you when you make a purchase through my links. Thank you for supporting my kitchen!
What are the ingredients for red velvet cake?
- Buttermilk adds moisture and gives red velvet cake its slightly tangy flavor while keeping the crumb soft and tender.
- Cocoa powder provides a mild chocolate flavor without overpowering the cake.
- Vinegar reacts with the baking soda to help the cake rise and enhances the classic red velvet taste.
- Red food coloring gives the cake its traditional deep red color.
The rest of the recipe uses everyday staples like flour, sugar, butter, oil, eggs, vanilla, baking soda, and salt for structure, moisture, and sweetness.

How to Make Red Velvet Cake
- Preheat the oven to 350°F and prepare two cake pans.
- Use room-temperature ingredients for a smoother batter and even baking.
- Mix the dry ingredients in one bowl and cream the butter and sugar with the eggs in another.
- Make the buttermilk, then combine it with the oil, vinegar, vanilla, and food coloring.
- Alternate mixing the wet and dry ingredients into the batter, divide between pans, and bake until set.
- Let the cakes cool completely, frost with cream cheese frosting, chill briefly, and slice for clean, smooth layers.

Don’t Forget To…
- Scroll down to print the full recipe with step-by-step instructions and exact measurements.
- Check out my Kitchen Essentials for the pans, mixing bowls, and baking tools I use to make this recipe a breeze.
- Save or share this recipe on Pinterest!
Common mistakes include overmixing the batter, which can make the cake dense, using too much cocoa powder so it tastes like chocolate cake, skipping the vinegar or buttermilk, and frosting the cake before it’s fully cooled, which causes the frosting to melt.
The secret to a perfect red velvet cake is balancing the ingredients—using just a small amount of cocoa, real buttermilk and vinegar for tenderness and tang, and mixing gently to keep the cake soft and moist.
Vinegar reacts with baking soda to help the cake rise and enhances the classic red velvet flavor.
Yes, you can bake the layers a day ahead, wrap them tightly, and frost before serving.
All-purpose flour is the best choice for red velvet cake, providing the right balance of structure and softness without making the cake dense.
Both are used, but oil is often preferred because it keeps red velvet cake extra moist, while butter adds flavor. Many classic recipes use a combination of both for the best texture and taste.

Be sure to try these delightful recipes that are perfect for any celebration!
- Red Velvet Cake Recipes offer everything from traditional layer cakes to creative desserts that highlight that signature color and subtle chocolate flavor everyone loves.
- Treat your sweetheart to something special with our Valentine’s Day Recipes.
- Want to take your dessert game to the next level? Check out our Cake Decorating Tips to make your creations even more stunning.

E-far 9½ Inch Cake Pan Set of 3, Stainless Steel Round Cake Baking Pans, Non-Toxic & Healthy, Mirror Finish & Dishwasher Safe Cake Decorating Kit,137pcs Cake Decorating Supplies with Cake Turntable for Decorating,Pastry Piping Bag,Russian Piping Tips Baking Tools, Cake Baking Supplies for Beginners(Green)Cake Decorating eBook Bundle


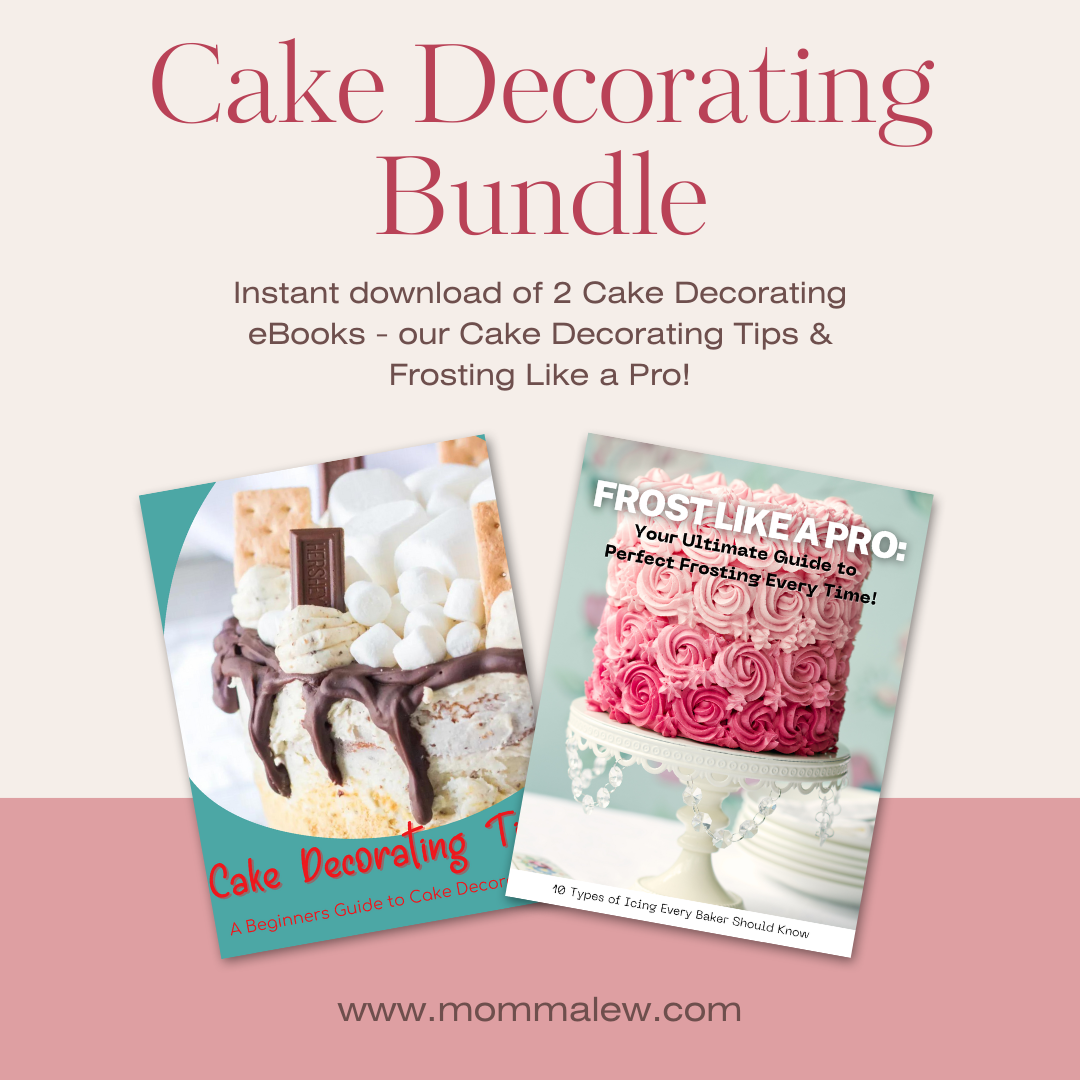
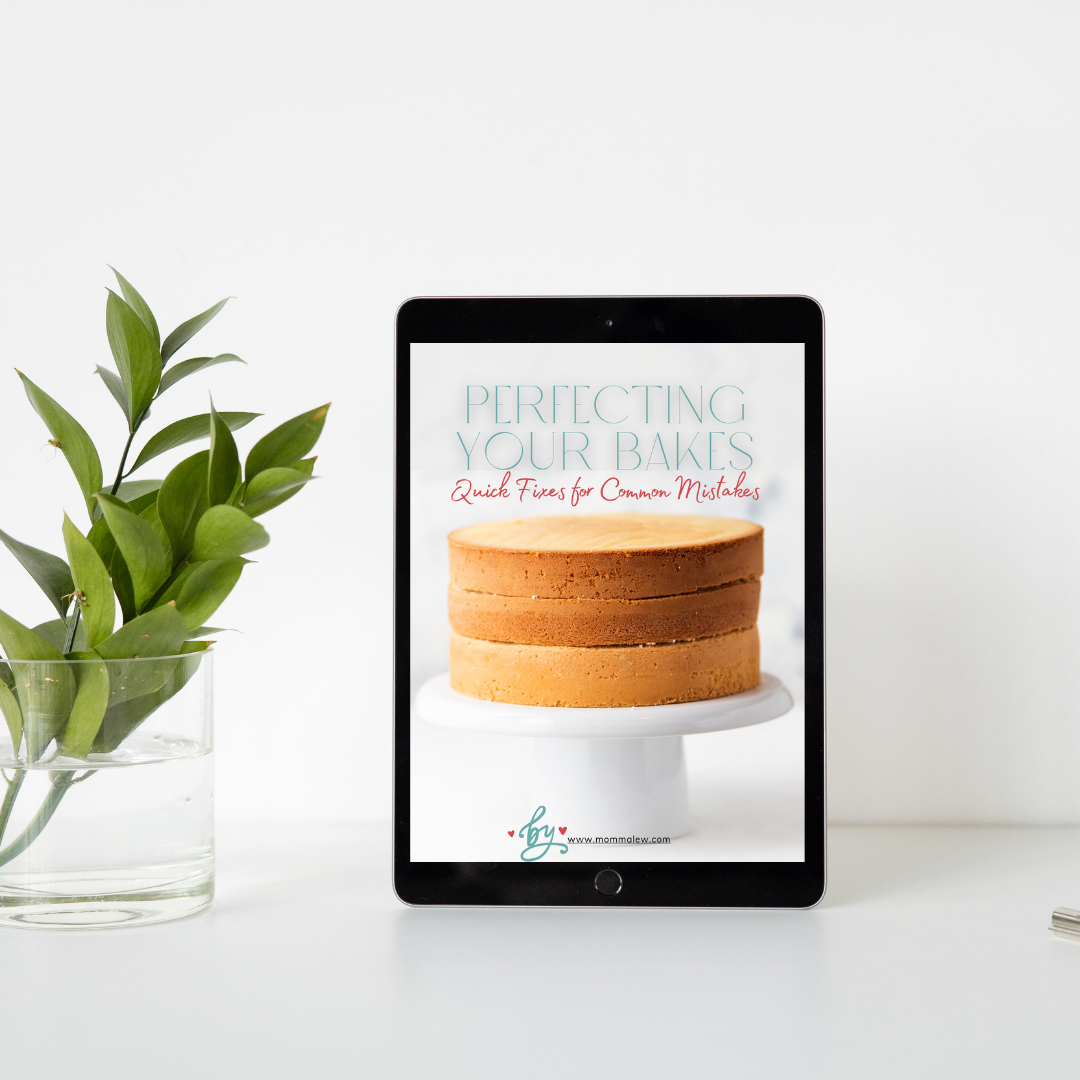
Baking eBook BundleBaking Troubleshooting Guide


Original Red Velvet Cake Recipe
Ingredients
- 3 cups flour
- 1 teaspoon baking soda
- 2 Tablespoons unsweetened natural cocoa powder
- ½ teaspoon salt
- ½ cup unsalted butter softened
- 2 cups granulated sugar
- 1 cup canola oil
- 2 large eggs
- 1 Tablespoon pure vanilla extract
- 1 teaspoon distilled white vinegar
- 2-3 drops red food coloring
- 1 cup buttermilk
Instructions
- Preheat your oven to 350°F and grease and flour two 9-inch round cake pans.
- In a medium bowl, combine flour, cocoa powder, baking soda and salt.
- In a large mixing bowl, beat butter and sugar until light and fluffy.
- Then add 2 large eggs, one at a time, beating after each addition.
- To make your own buttermilk, mix in 1 tablespoon of white vinegar to 1 cup of milk. This will cause a chemical reaction that will cause the milk to sour naturally.
- In a small bowl, mix buttermilk, vinegar, oil, vanilla extract, red food coloring.
- Slowly add the wet mixture to the butter and sugar mixture, alternating with the dry ingredients, until combined.
- Divide the cake batter evenly between the two cake pans and bake for 25-30 minutes, or until a toothpick inserted in the center comes out clean.
- Let the cakes cool completely.
- Cool for 15-20 minutes before removing the cakes from the pans and then cool completely on a cooling rack to room temperature before frosting with cream cheese frosting.
- To frost the cake, level and torte the cake.
- Put a dollop of cream cheese icing on the bottom layer and then top with the second layer.
- Begin with a thin layer of cream cheese frosting to create a crumb coat. This initial layer helps trap any loose crumbs and provides a smooth base for the final frosting.
- Use an offset spatula to spread the frosting evenly across the top and sides of cake.
- Refrigerate the cake for about 15-30 minutes to allow the crumb coat to set. This makes it easier to apply the final layer of frosting without picking up crumbs.
- Once the crumb coat is set, apply the final layer of frosting. Start with the top of the cake, spreading the frosting evenly from the center outward. Use long, smooth strokes to achieve a neat and polished finish.
- After frosting the top, move on to the sides of the cake. Hold the spatula at a slight angle for smooth and even coverage.
- Allow the frosted cake to chill in the refrigerator for at least 30 minutes to set the frosting. This makes it easier to slice and ensures a firmer texture.
- For clean and neat slices, dip your knife in warm water before cutting.
This looks so good. Can’t wait to try it. Have you heard of Orange Blossoms? They are mini orange cupcakes made with orange juice concentrate and an orange glaze. My mother used to make them for at a restaurant years ago and I can’t find a recipe for them.
No I haven’t and now I want one!
Baked this cake for my birthday and it was an absolute hit! So moist and tasty. Thank you for doing what you do
So happy to hear that! Happy Birthday to you!
This is the best recipe for Red Velvet cake I made! Its moist because of the oil and flavorsome because of the butter. Will be making it many more times!
All I have on hand currently is self-rising flour. What ingredients should I omit from the recipe? Thanks in advance.
Self rising has salt & baking powder. I’ve never used self-rising so I really can’t say how it would work.
I have done it. And it’s great thx fir the recipe 😀
Little secret to make it moist, let it for for like five minutes when you take it out the oven then put plastice wrap over it and let it cool like that.I put it in the fridge over night or When you ready to decorate it remove the plastic. You will have the best moist cake ever. 🎂 Try it 😋😋😋
I am so glad you loved it! Thanks for sharing your tips!
Can another oil be substituted for Canola?
Sure!
My mother mad the absolute BEST red velvet cake. If you do not use Cake flour, your layers will turn out dry and hard. Cake flour gives the moistness.
Perfectly soft and moist… this is the ultimate red velvet cake!