Indulge in the decadent goodness of red velvet cake jars! Discover why these delightful treats are perfect for any occasion and learn how to make them with our easy recipe.

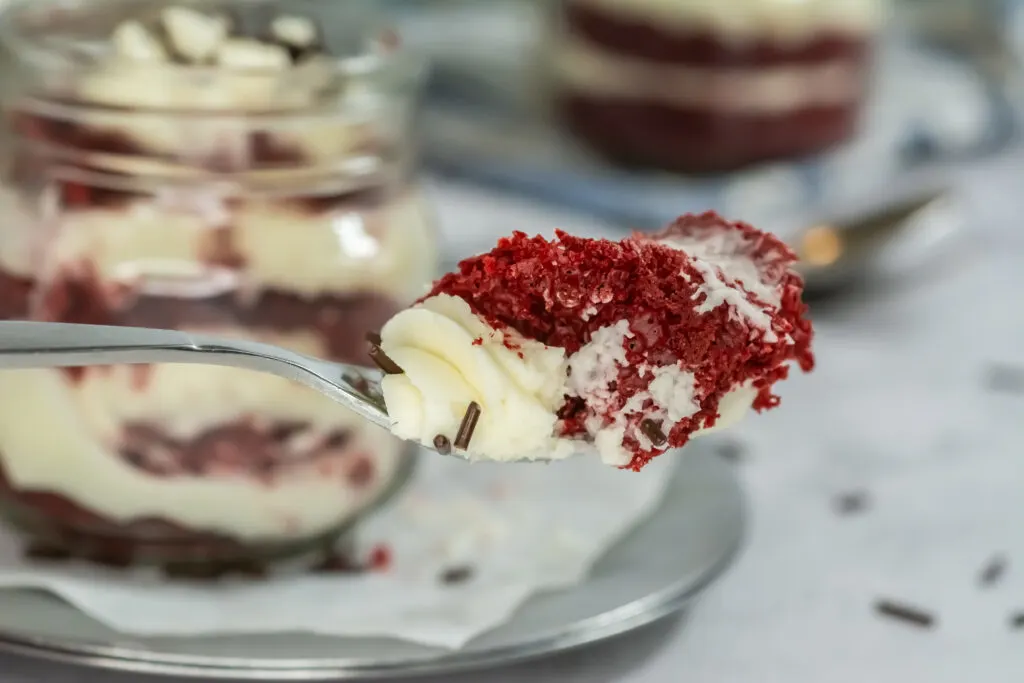
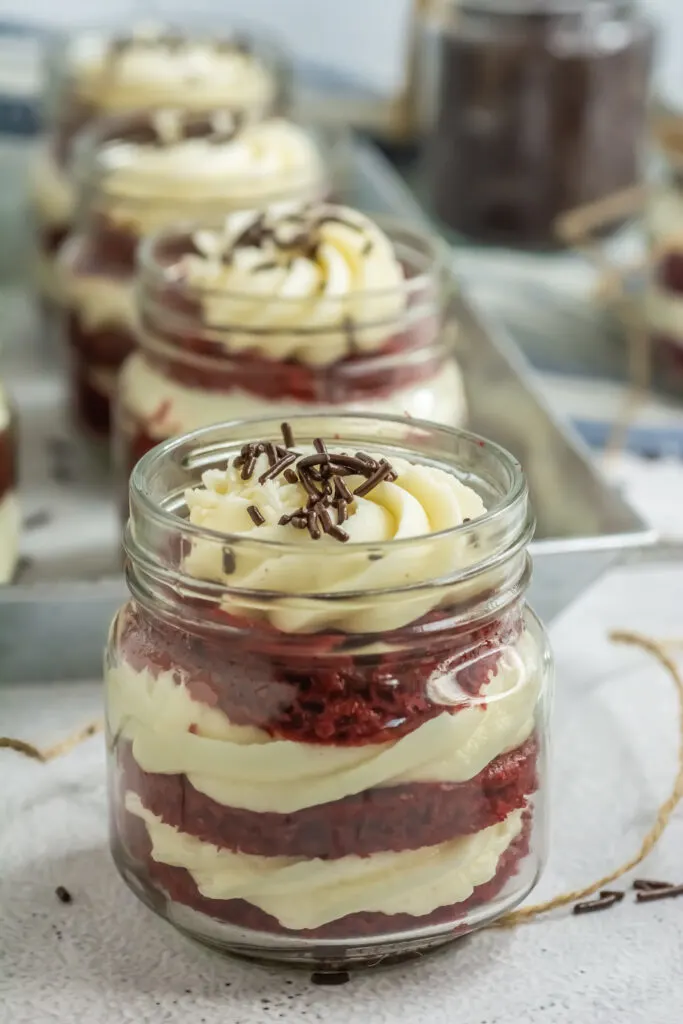
Red velvet cake jars offer a delightful twist on the classic dessert, presenting layers of moist red velvet cake, creamy frosting, and delectable toppings in convenient, portable jars.
A red velvet cake jar is a convenient and portable way to enjoy the classic red velvet flavor over a traditional red velvet sheet cake or red velvet cupcakes.
Red velvet cake and cream cheese frosting are the perfect balance of sweetness and tanginess. The hint of cocoa in the slices of cake provides a subtle sweetness, while the tangy cream cheese frosting adds a creamy and slightly tart contrast.
Mason jar gifts, like our red velvet cake jars, offer a delightful combination of charm, creativity, and convenience. They’re perfect for birthdays, holidays, housewarmings, thank-you gifts, or simply as a gesture of appreciation for someone special.

This delicious dessert is not only visually stunning but also incredibly versatile! Whether enjoyed as a sweet treat at a party or given as a thoughtful gift for a friend with a cute gift tag, red velvet cakes in a jar are sure to delight taste buds and impress guests with their charming presentation and delicious flavor profile.

Recipe for Red Velvet Cake Jars:
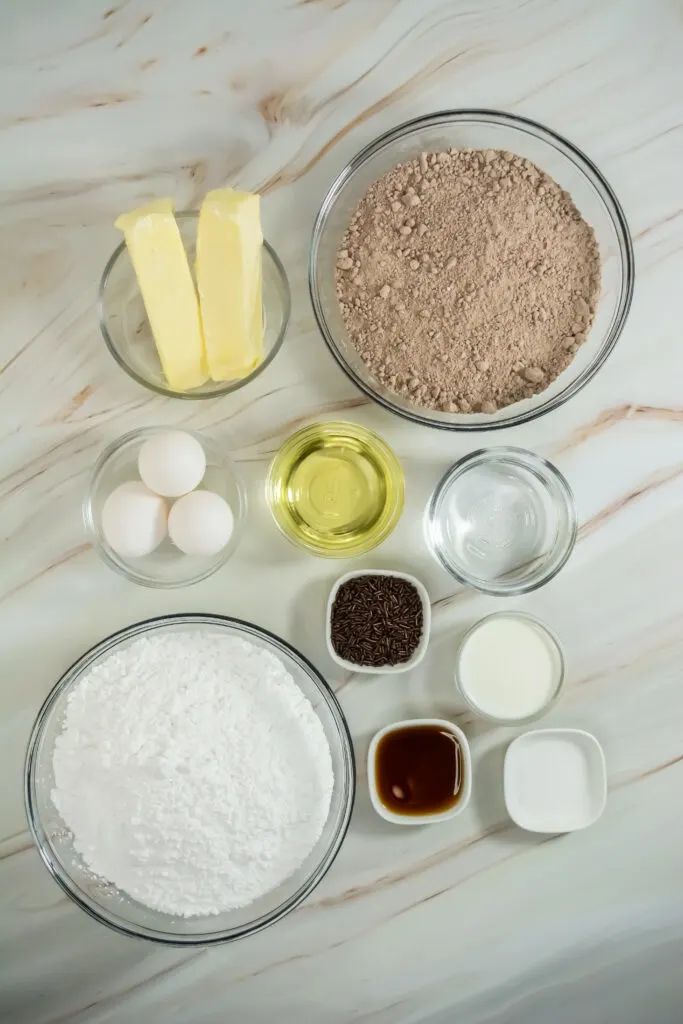
Ingredients:
For the cake –
- Red Velvet box cake mix
- 1 c water
- 3 eggs
- ½ c oil
For the frosting –
- 1 c unsalted butter, softened
- 2 oz softened cream cheese (optional)
- 4 c powdered sugar
- 1 teaspoon salt
- 1 teaspoon vanilla extract
- 2 T heavy cream
- Sprinkles to decorate
- Half-Pint Jars (8 oz jars)
Directions:
Preheat the oven to 350 degrees. Line two jelly roll pans with sides about 11×17 in size with foil or parchment. Spray with a light layer of non-stick spray, set aside.
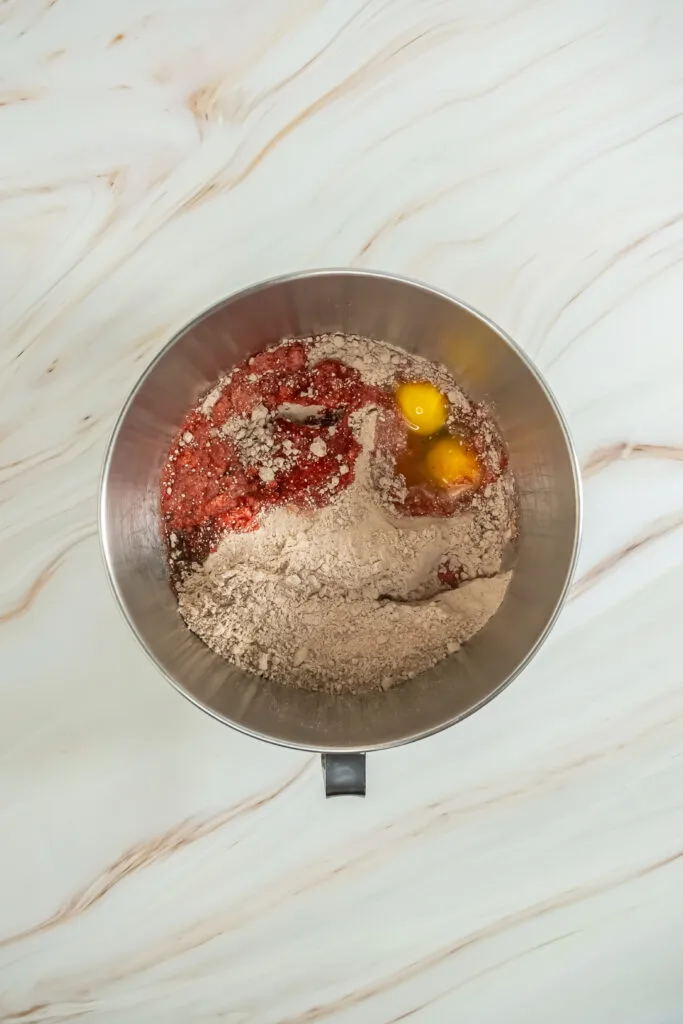
In the bowl of a stand mixer, combine the red velvet cake mix, water, eggs and oil. Start mixing on the lowest speed, working up to medium speed. Mix until thoroughly combined – stopping the machine and scraping the sides often.
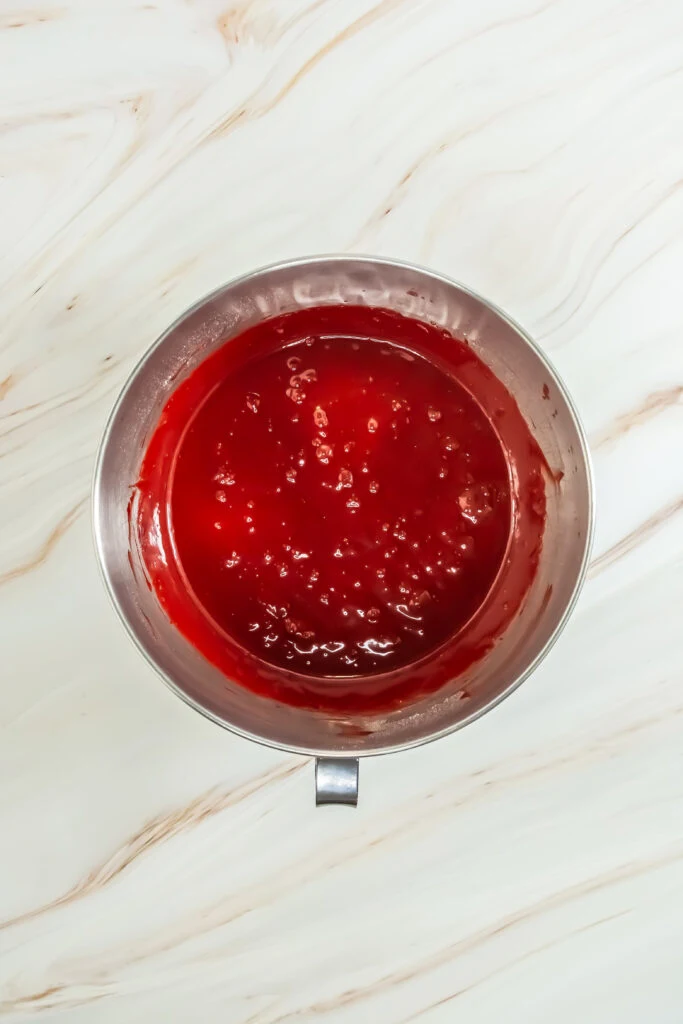
Pour approximately half of the cake batter into each of the prepared baking sheets. Use a spatula to help spread the batter into the corners and as even as possible.

Bake in the preheated oven for 10 minutes. The edges should be set and the center no longer glossy. Remove from the oven and allow to cool completely to room temperature on a wire rack.
For the frosting – in the bowl of a stand mixer, combine the softened butter, cream cheese (if using), powdered sugar, salt, vanilla and heavy cream. Mix on low speed until combined.
Bump up the speed to medium and mix until the frosting is smooth and fluffy looking. Scrape down the sides often and mix until cohesive.


Transfer the cream cheese frosting to a piping bag fitted with a large star tip.
Once the cake is cool, use a round cookie cutter or the mason jar lid to cut out the rounds of cake. Try to space them close together to get as many as possible. You should end up with approximately 30-36 rounds depending on the size of your container lid and the size of your pan. Set them aside.

Prepare your workspace with the bagged frosting, cake rounds, sprinkles and the containers with the lids off.

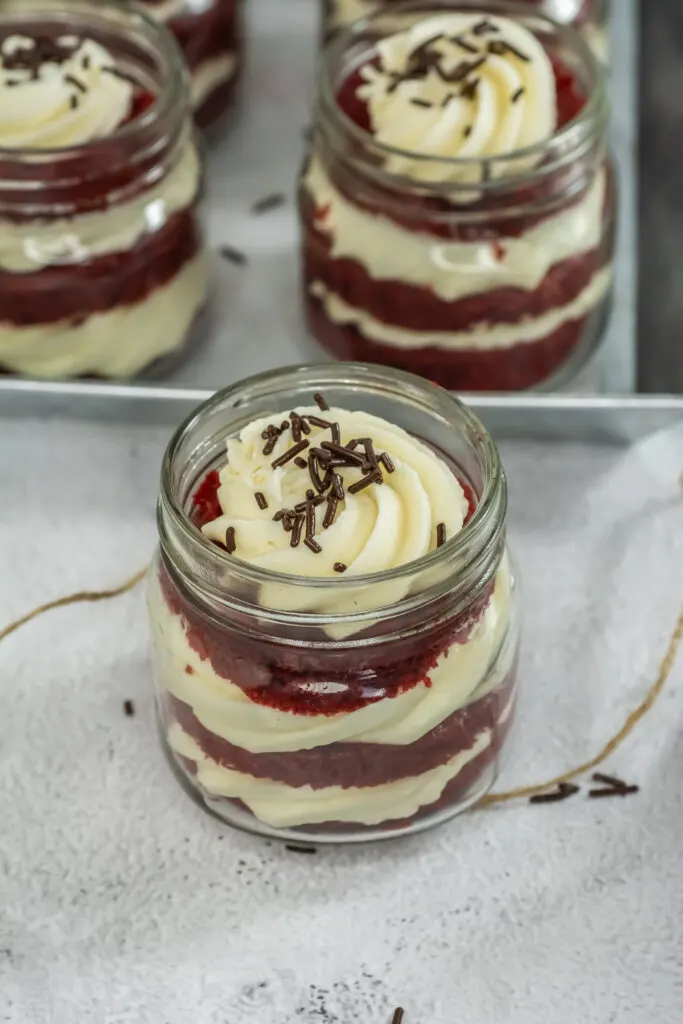
Carefully place one round slice of cake into the bottom of the jar. You may need to fold in half to fit through the opening but we know it will fit once inside because we used the lid to cut it just right.

Follow up with a small dollop of frosting.

Repeat with another layer of cake and dollop of frosting.


Repeat with another layer of cake and a dollop of frosting, decorate with some sprinkles on top of the frosting.

Close the top of the jar for storage. For a gift presentation, attach a ribbon or twine and a serving spoon for a personal touch.

Storage: Cake jars can be stored in the fridge for 7-10 days or frozen for 3 months.

Try These Recipes:

Tips for Making Red Velvet Cake Jars:
- Be sure to let the cake layers cool completely before assembling the jars to prevent the frosting from melting.
- Use a piping bag or spoon to neatly layer the cake and frosting in the jars for a professional-looking presentation.
- Experiment with different frosting flavors such as chocolate or vanilla to create unique variations of red velvet cake jars.
- Have fun with the garnishes! Sprinkles, chopped nuts, or edible glitter can add a festive touch to your creations.
FAQs about Red Velvet Cake Jars:
Can I make red velvet cake jars ahead of time?
Yes! Red velvet cake jars can be assembled ahead of time and stored in the refrigerator for up to 2-3 days before serving.
Can I use homemade red velvet cake instead of a cake mix?
Absolutely! You can use your favorite homemade red velvet cake recipe in place of a cake mix for the jars.
Can I customize the toppings for red velvet cake jars?
Of course! Get creative with your toppings by adding crushed cookies, fresh berries, or chocolate ganache to customize your red velvet cake jars to suit your taste preferences.

How to Make Red Velvet Cake Jars
Indulge in the decadent goodness of red velvet cake jars! Discover why these delightful treats are perfect for any occasion and learn how to make them with our easy recipe.
Ingredients
- For the cake -
- Red Velvet box cake mix
- 1 c water
- 3 eggs
- ½ c oil
- For the frosting -
- 1 c unsalted butter, softened
- 2 oz softened cream cheese (optional)
- 4 c powdered sugar
- 1 teaspoon salt
- 1 teaspoon vanilla extract
- 2 T heavy cream
- Sprinkles to decorate
- Half-Pint Jars (8 oz jars)
Instructions
Preheat the oven to 350 degrees. Line two jelly roll pans with sides about 11x17 in size with foil or parchment. Spray with a light layer of non-stick spray, set aside.
In the bowl of a stand mixer, combine the red velvet cake mix, water, eggs and oil. Start mixing on the lowest speed, working up to medium speed. Mix until thoroughly combined - stopping the machine and scraping the sides often.
Pour approximately half of the cake batter into each of the prepared baking sheets. Use a spatula to help spread the batter into the corners and as even as possible.
Bake in the preheated oven for 10 minutes. The edges should be set and the center no longer glossy. Remove from the oven and allow to cool completely to room temperature on a wire rack.
For the frosting - in the bowl of a stand mixer, combine the softened butter, cream cheese (if using), powdered sugar, salt, vanilla and heavy cream. Mix on low speed until combined.
Bump up the speed to medium and mix until the frosting is smooth and fluffy looking. Scrape down the sides often and mix until cohesive.
Transfer the cream cheese frosting to a piping bag fitted with a large star tip.
Once the cake is cool, use a round cookie cutter or the mason jar lid to cut out the rounds of cake. Try to space them close together to get as many as possible. You should end up with approximately 30-36 rounds depending on the size of your container lid and the size of your pan. Set them aside.
Prepare your workspace with the bagged frosting, cake rounds, sprinkles and the containers with the lids off.
Carefully place one round slice of cake into the bottom of the jar. You may need to fold in half to fit through the opening but we know it will fit once inside because we used the lid to cut it just right.
Follow up with a small dollop of frosting.
Repeat with another layer of cake and dollop of frosting.
Repeat with another layer of cake and a dollop of frosting, decorate with some sprinkles on top of the frosting.
Close the top of the jar for storage. For a gift presentation, attach a ribbon or twine and a serving spoon for a personal touch.
Storage: Cake jars can be stored in the fridge for 7-10 days or frozen for 3 months.
