
Blackberry Jam Recipe
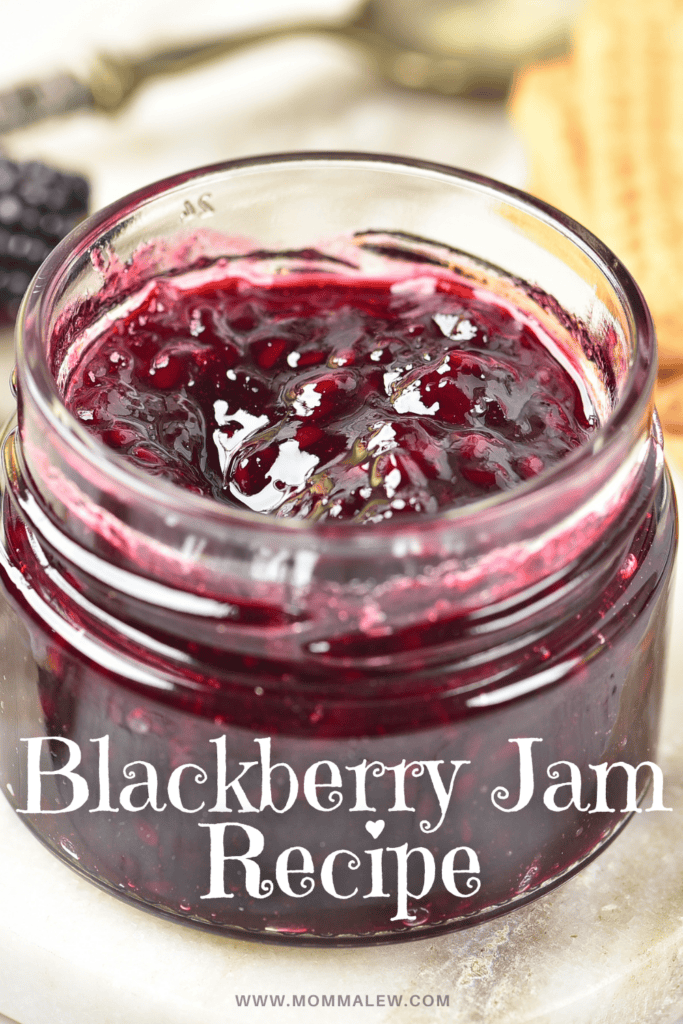
A Blackberry Jam Recipe is one of the easiest ways to preserve fresh summer berries and enjoy their sweet flavor long after blackberry season ends.
Whether you’re spreading it on toast, stirring it into yogurt, or using it in your favorite desserts, homemade jam tastes far better than store-bought.
With just a few simple ingredients and a little time, you’ll have a delicious batch of jam that’s perfect for canning or storing in the refrigerator.
As an Amazon Associate, I earn from qualifying purchases. This post may contain affiliate links, meaning I may receive a small commission at no extra cost to you when you make a purchase through my links. Thank you for supporting my kitchen!
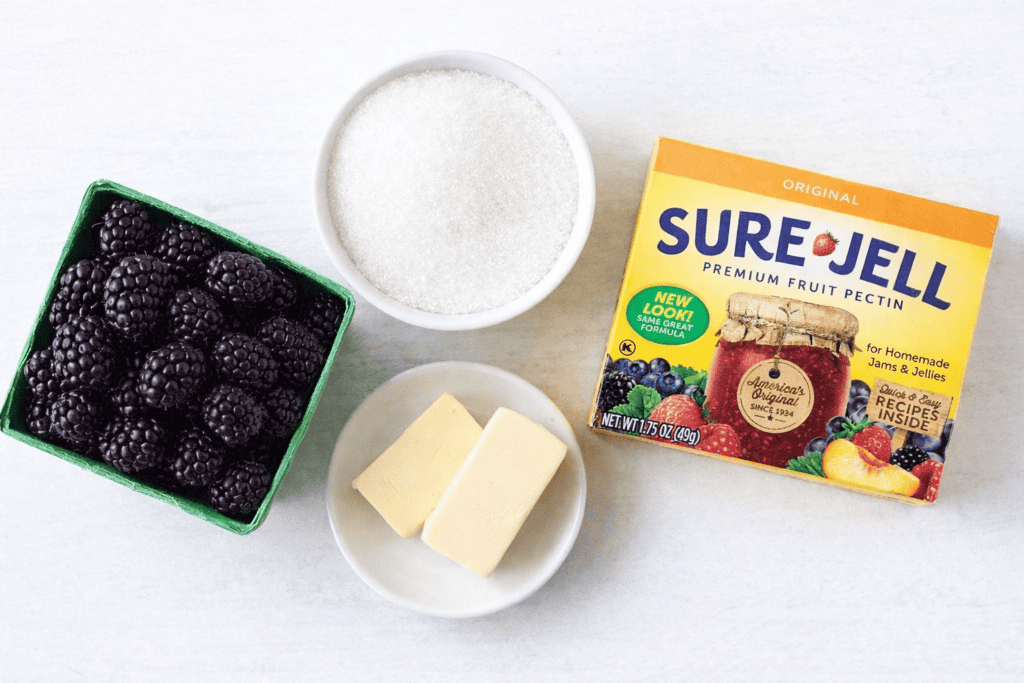
What are the ingredients for blackberry jam?
- Blackberries: Provide the sweet-tart flavor and rich color; use ripe, fresh berries for best results
- Sugar: Sweetens the jam and helps it set and preserve properly
- Fruit Pectin: Thickens the jam and ensures a reliable gel, especially for beginners
- Butter: Reduces foam during cooking for a smoother finish (optional)
How to Make Blackberry Jam
Keep in mind that jam making is a little like baking—accurate measurements matter for the right consistency!
- Rinse and gently dry ripe blackberries.
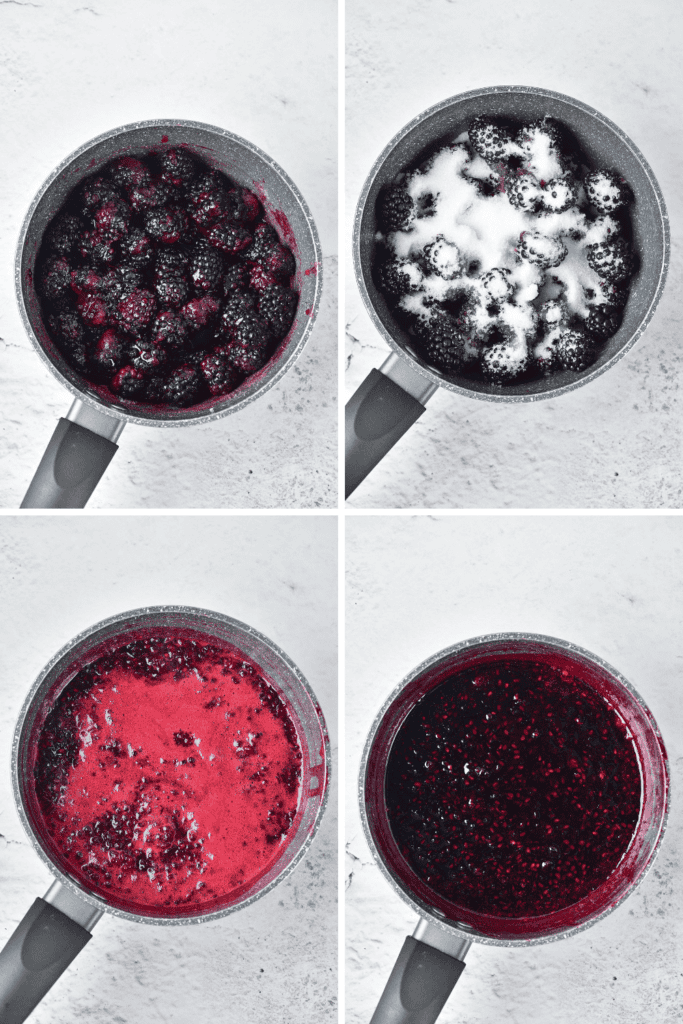
- Crush 8 cups of blackberries over medium heat until juicy. Strain the seeds if you prefer a smoother jam.
- Measure 5 cups of prepared fruit into a large saucepan.
- Stir in the pectin and butter, then bring to a full rolling boil.
- Add the sugar and boil for 1 minute, stirring constantly.
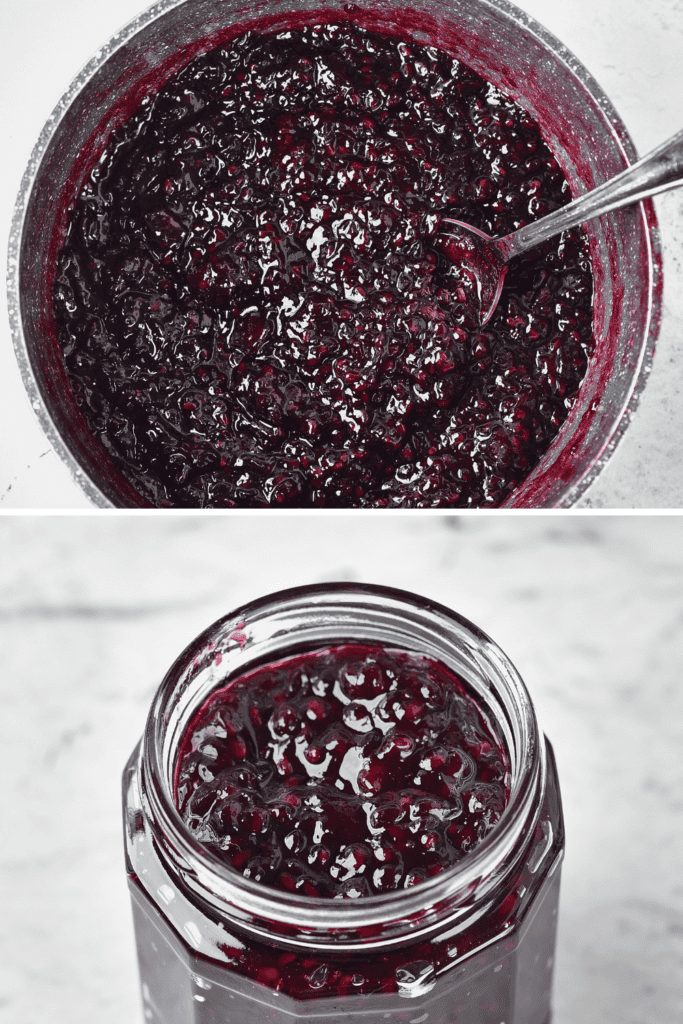
- Test the jam using the cold plate method. If it wrinkles when pushed, it’s ready.
- Skim off any foam and ladle the hot jam into sterilized jars, leaving ¼-inch headspace.
- Wipe the rims clean, add the lids, and process in a boiling water bath for 10 minutes.
- Let the jars cool completely, then check that the lids have sealed before storing.
Don’t Forget To…
- Scroll down to print the full recipe with step-by-step instructions and exact measurements.
- Check out my Kitchen Essentials for the pans, mixing bowls, and baking tools I use to make this recipe a breeze.
- Save or share this recipe on Pinterest!
Want more easy recipes like this? Grab my Freezer Jam & Fridge Pickles Guide—no canning required!
Not always. Blackberries naturally contain some pectin, especially when they’re slightly underripe. Many homemade blackberry jam recipes thicken beautifully with just fruit, sugar, and lemon juice. If you prefer a firmer set or are making a large batch, you can add commercial pectin.
You’ll need about 1 to 1½ cups of blackberries to make an 8 oz jar of jam, depending on how much the fruit cooks down.
Once you reach a full rolling boil, jam typically only needs to boil for about 1 minute after adding sugar when using pectin.
A water bath isn’t required if you plan to refrigerate and use the jam quickly, but it is recommended for long-term, shelf-stable storage.
Properly sealed jars can last up to 1 year in a cool, dark place, while opened or unsealed jam should be stored in the refrigerator and used within a few weeks.
Jam is made with crushed fruit for a smoother texture, while preserves use larger pieces or whole fruit for a chunkier consistency.
Yes, lemon juice is recommended for both flavor and food safety. It helps balance the sweetness, boosts the natural pectin, and provides the acidity needed for proper preservation when canning.
If your blackberry jam is too thin, continue simmering it a little longer to evaporate excess liquid. You can also use the cold plate test to check if it’s ready. If needed, additional pectin can be added according to the package directions.
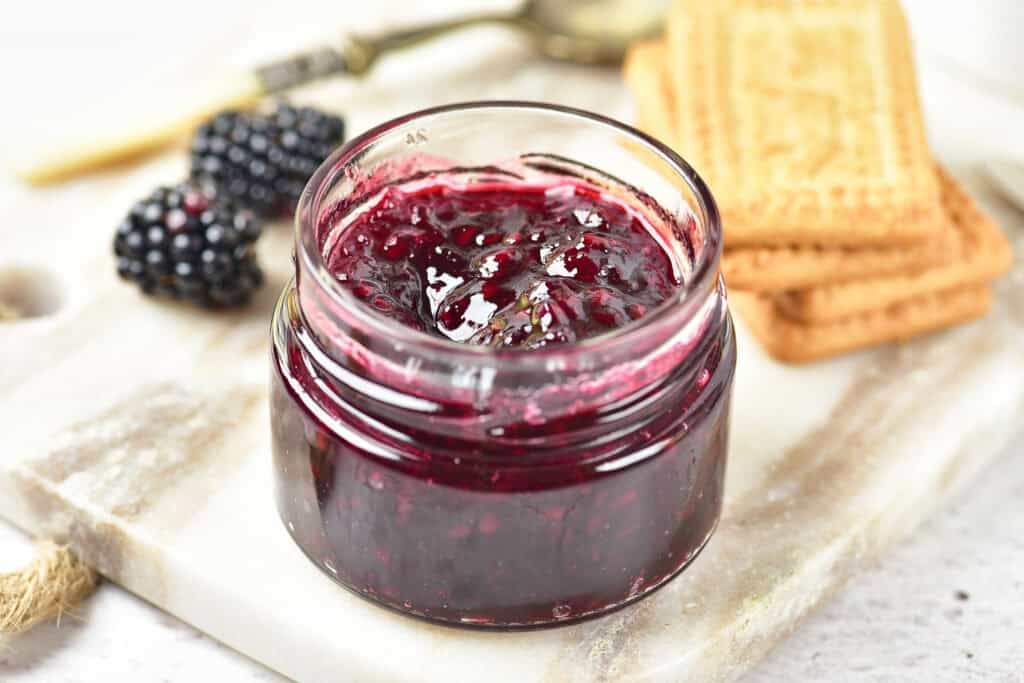
Ways to Use Homemade Blackberry Jam
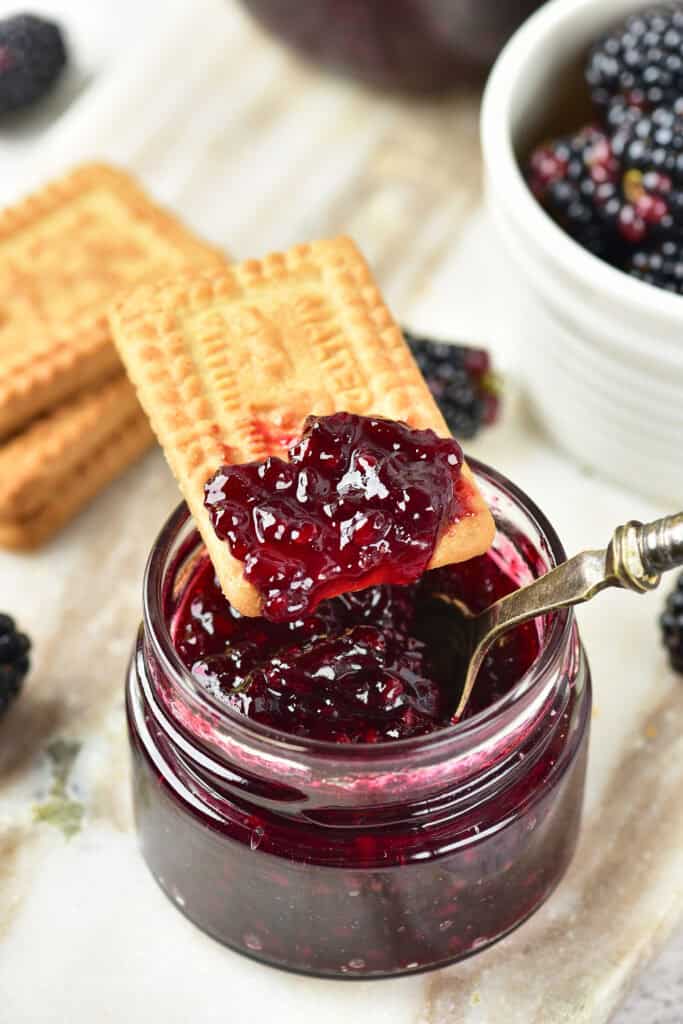
- Spread on toast, English muffins, homemade biscuits, or scone recipes
- Swirl into oatmeal or yogurt
- Spoon over cheesecake recipes or vanilla ice cream
- Fill thumbprint cookies
- Layer into cakes or cupcakes
- Use as a filling for pastries
- Stir into barbecue sauce for a sweet twist
- Add to charcuterie boards alongside cheeses
- Mix into salad dressings
- Spoon over pancakes and waffles
Granite Ware Canning Pot with Rack & Lid – 21 Quart Large Boiling Water Canning Set for Jar Sterilization & Pickling on Stove/Open Flame – Scratch-Resistant Porcelain Enamel & Steel Core (Black)Canning Supplies Canning KitDelove Canning Funnel with Strainer for Wide and Regular Mason Jars – Wide-Mouth Funnels for Kitchen Use – Canning Supplies Kit – Stainless Steel – 3 Pack (Small and Large)Oriflame Canning Jar Lifter Tongs, Stainless Steel Jar Lifter with Rubber Grips – for Slip Wide-Mouth Clip for Kitchen RestaurantBall Jar Quilted Crystal Jelly (Case of 12), 8 ozOXO Good Grips Stainless Steel LadleCotton Farm Grade 100 XL Cheese Cloth for Straining & Cooking; 36×36 Inch; 100% Unbleached Cotton Cheesecloth; Reusable with Finished Edges, Butter Muslin


If you’ve got extra berries on hand, these blackberry recipe ideas are a great way to use them up and try something a little different.
- Try these blackberry canning recipes to make jams, jellies, and preserves that you can enjoy long after berry season ends.
- This Blackberry Simple Syrup is perfect for drinks, pancakes, and adding a fruity twist to your favorite desserts.
- Blackberry Desserts like a mixed berry pound cake or blackberry lemon bars are an easy way to satisfy your sweet tooth.
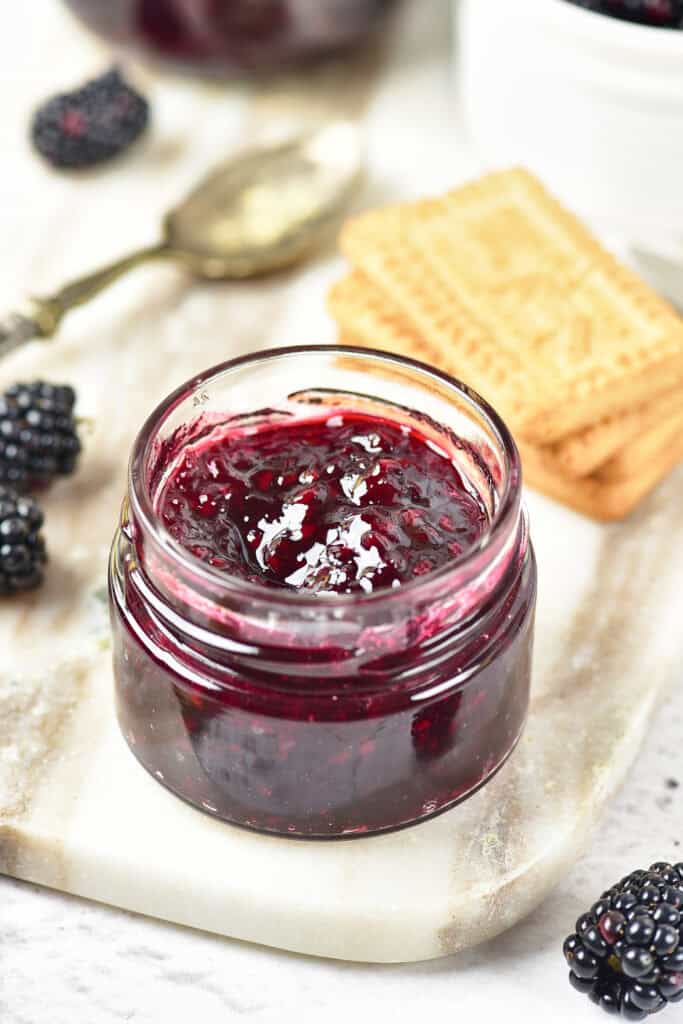
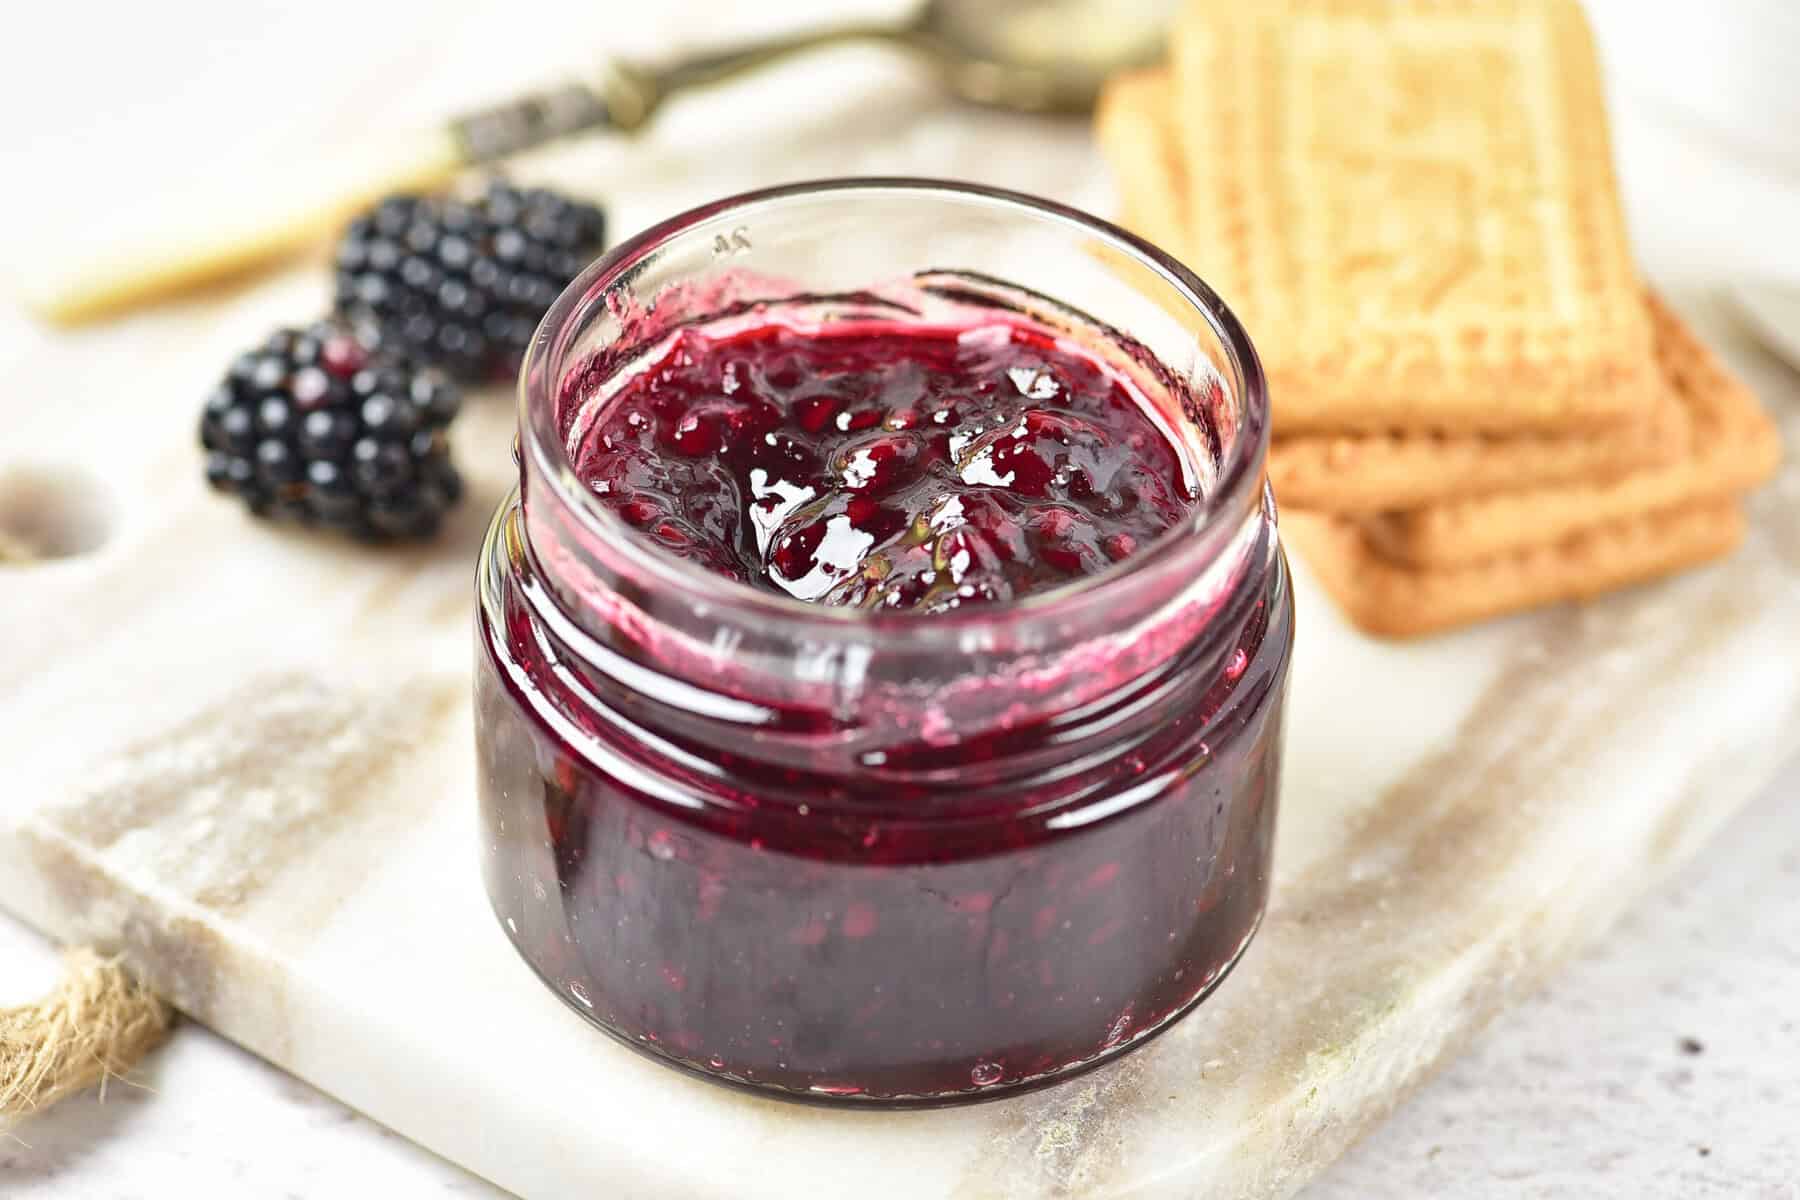
Homemade Blackberry Jam Recipe
Ingredients
- 8 cups blackberries
- 6 ½ cups sugar
- 1 pkg Sure-Jell Premium Fruit Pectin
- ½ tsp butter
Instructions
- Prepare lids and jars.
- In a stockpot, crush 8 cups of blackberries over medium heat using a potato masher.
- Press the crushed fruit through a small mesh strainer or cheese cloth to remove seeds.
- Measure 6 1/2 cups of sugar into a separate bowl.
- Measure 5 cups of crushed blackberries into a large saucepan.
- Stir in Sure-Jell pectin into fruit. Stir in butter (this reduces foaming).
- Bring mix to a rolling boil on high heat. Stir constantly.
- Add sugar to fruit mixture. Bring back to a rolling boil. Boil for 1 minute.
- Remove from heat. Remove any foam.
- Ladle your homemade blackberry jam right away into your prepared jars. Fill them within a 1/2 inch to the top.
- Cover with lids.
- Place jars into boiling water. Be sure to cover jars by 1-2 inches. Add more boiling water if needed. Cover.
- Boil your homemade blackberry jam jars for 10 minutes.
- Remove the jars and place on a towel to cool. When cooled, press the center of the jars. If they spring back to you then you will need to refrigerate your jam since it did not process properly.
- Let your homemade blackberry jam stand for 24 hours and then store in a cool, dry place.
How much does this make? It does not show a yield of the size containers used or how many containers or ounces it makes.
Hi Ashley,
Thanks for your question! It really varies everytime we make this. We use the 16oz mason jars and usually use an entire case of jars (dozen). I would have a few more on hand though just in case.
Can you use frozen blackberries
Yes you can use frozen blackberries, but they should be defrosted and drained first b/c otherwise there will be too much liquid and your blackberry jam will not work.
Perfect recipe and instructions, thank you.
I could not find my old recipe, so I went with this one and it is a winner!
I used Brandywine/Taste of Heaven blackberries/thornless; they are very big and too tart to eat off the vine but this recipe made the jam perfectly sweet. I made 9 half pints and 4 1/4 pints. This left just enough to test on toast. Yummy !
Thank you so much! I love hearing this! I hope this becomes your go to jam recipe!