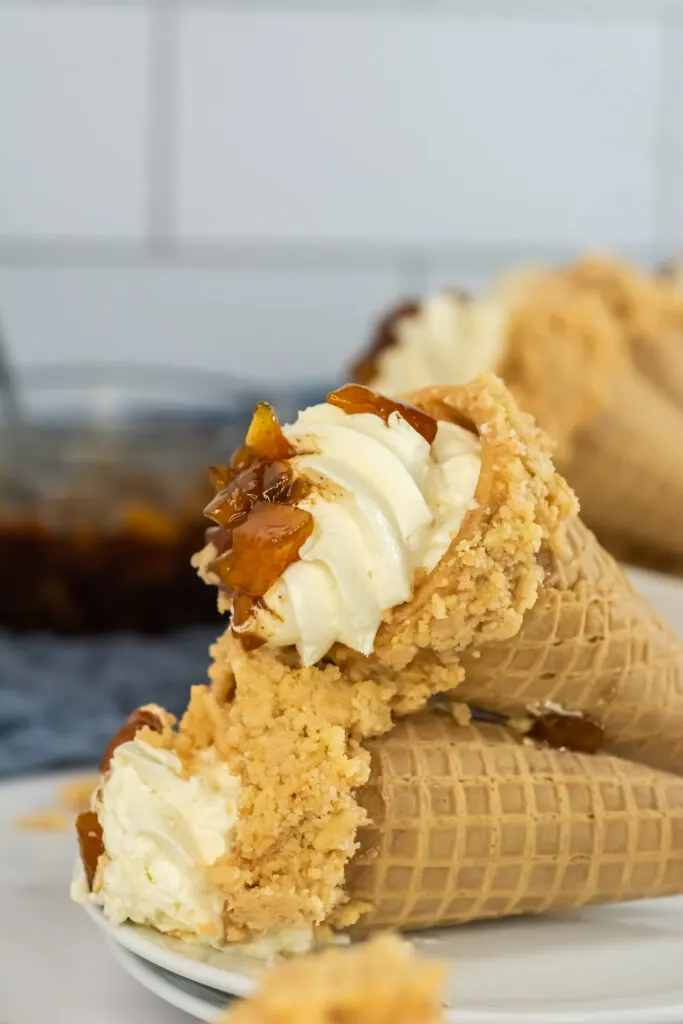
Indulge in the perfect summer treat with our peach cobbler cheesecake cones recipe! Creamy cheesecake filling with fragrant peaches in crispy cones are the perfect combination for a delightful dessert.

Get ready to elevate your summer dessert game with our irresistible peach cobbler cheesecake cones recipe!
Combining the classic flavors of peach cobbler with creamy cheesecake filling, all nestled into a crispy ice cream cone, these treats are bursting with sweetness and flavor.
The idea of peach cobbler cheesecake cones is a creative fusion of two beloved desserts: a fresh peach cobbler and a no bake cheesecake filling.
The combination of these two desserts into portable and fun-to-eat cones is a modern twist on traditional flavors, perfect for enjoying at summer gatherings, picnics, or as the perfect summertime dessert.

How do you make peach cobbler cones?
Ingredients:
For the crunch –
- 12 sugar cones
- 20 Golden Oreos, crushed
- 3 oz peach Jello mix
- ½ c unsalted butter, melted
For the cheesecake filling –
- 16 oz cream cheese, softened
- ½ c sugar
- 1 t vanilla extract
- 8 oz package Cool Whip
For the peaches –
- 2 c diced peaches (frozen or fresh are best)
- ¾ c brown sugar
- 1 t cinnamon
- ½ t salt
- For the glaze –
- 1 c powdered sugar
- ¼ c milk

Directions:
In a medium sized bowl, combine the crushed Golden Oreos, peach Jello mix and melted butter. Mix to combine until crumbly and looks like wet sand. Set aside.


In the bowl of a stand mixer, combine the softened cream cheese, vanilla and sugar. Cream the cream cheese mixture until smooth.

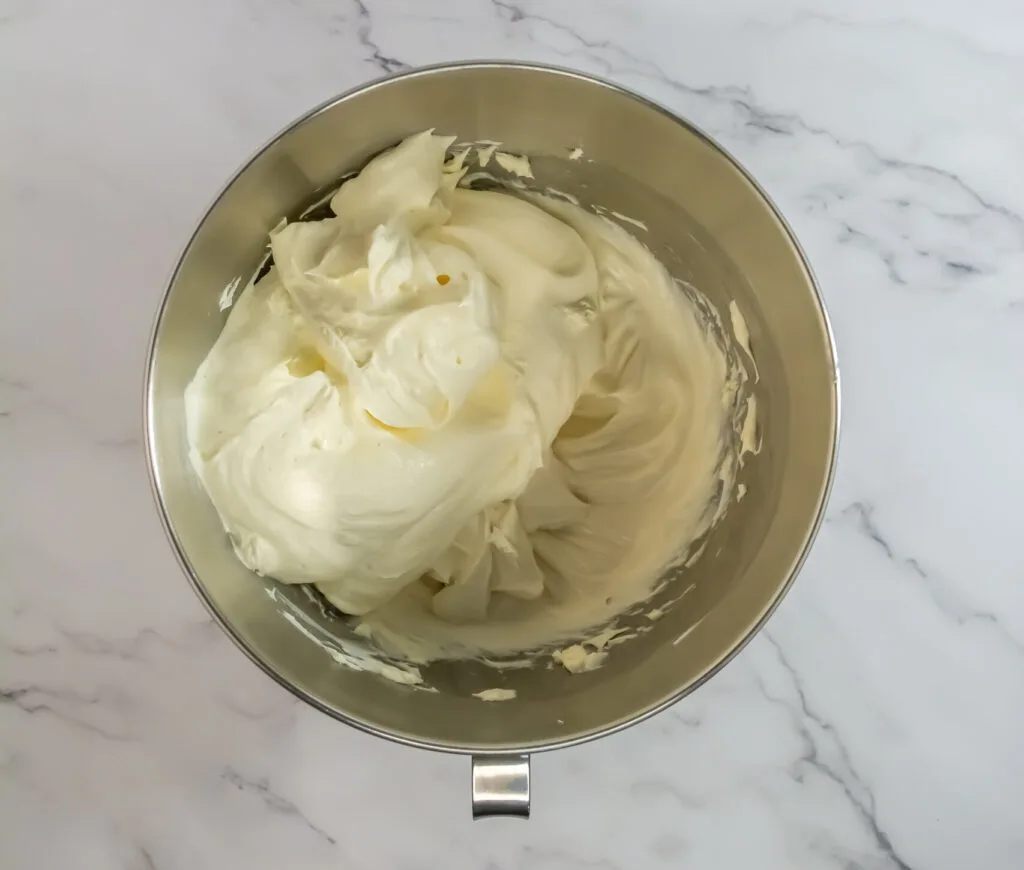

Fold in the Cool Whip until thoroughly combined.
Transfer the cheesecake filling to a piping bag fitted with a large star tip. Set aside until ready to use.
In a small saucepan, combine the diced peaches, brown sugar, cinnamon and salt. Heat over low heat for about 20 minutes, stirring occasionally. The mixture should be syrupy in consistency and the peaches tender. Allow to cool before assembly.

In another small bowl, combine the powdered sugar and milk for the glaze. Whisk to combine. Set aside.


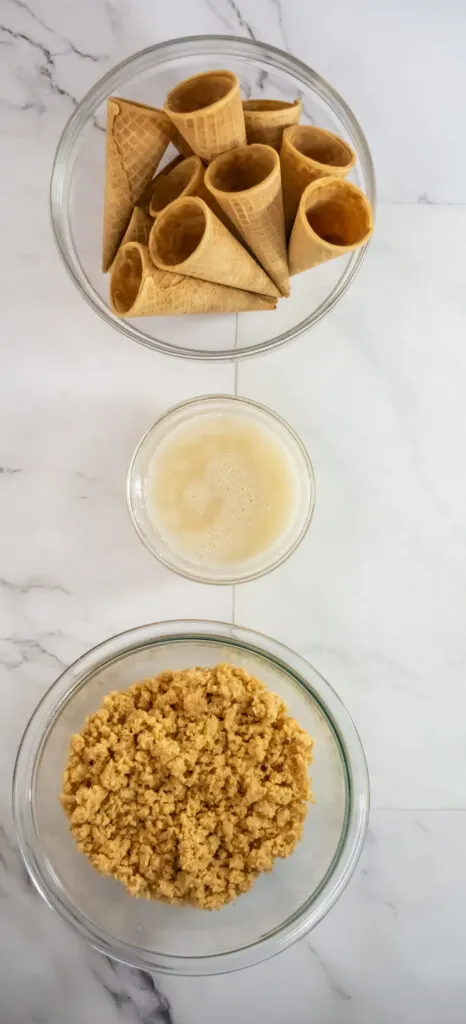
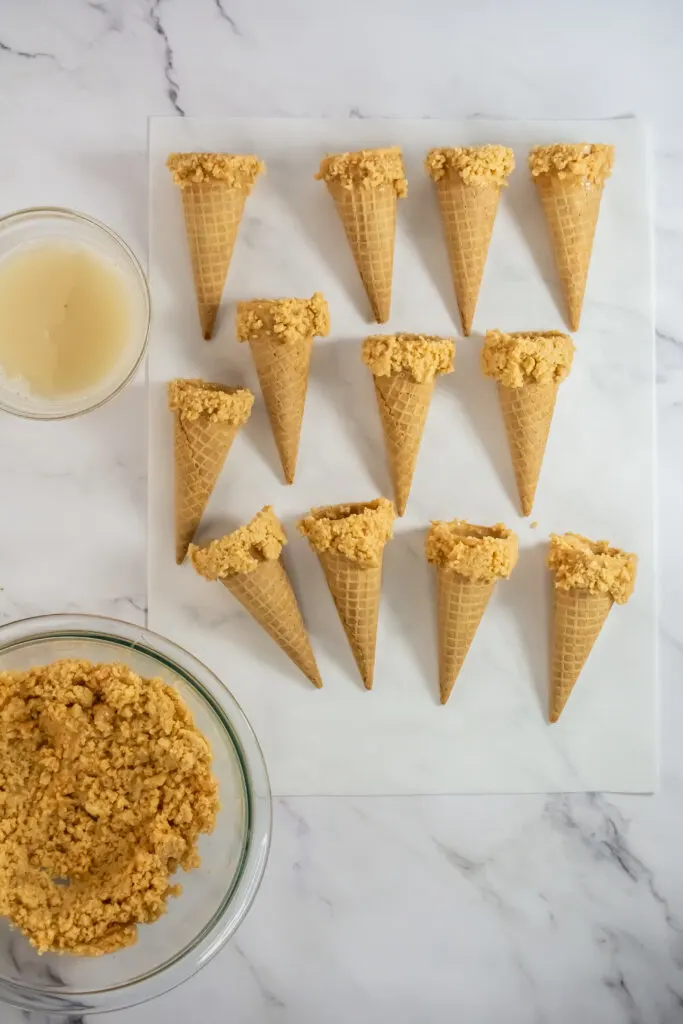
To assemble – Dip the top of the cones into the glaze and immediately dip into the peach crunch mixture, pressing the crunch into the cone gently. Drizzle the cones with additional glaze and sprinkle additional crunch mixture over the cones, optional. Set aside and continue with the remaining cones.

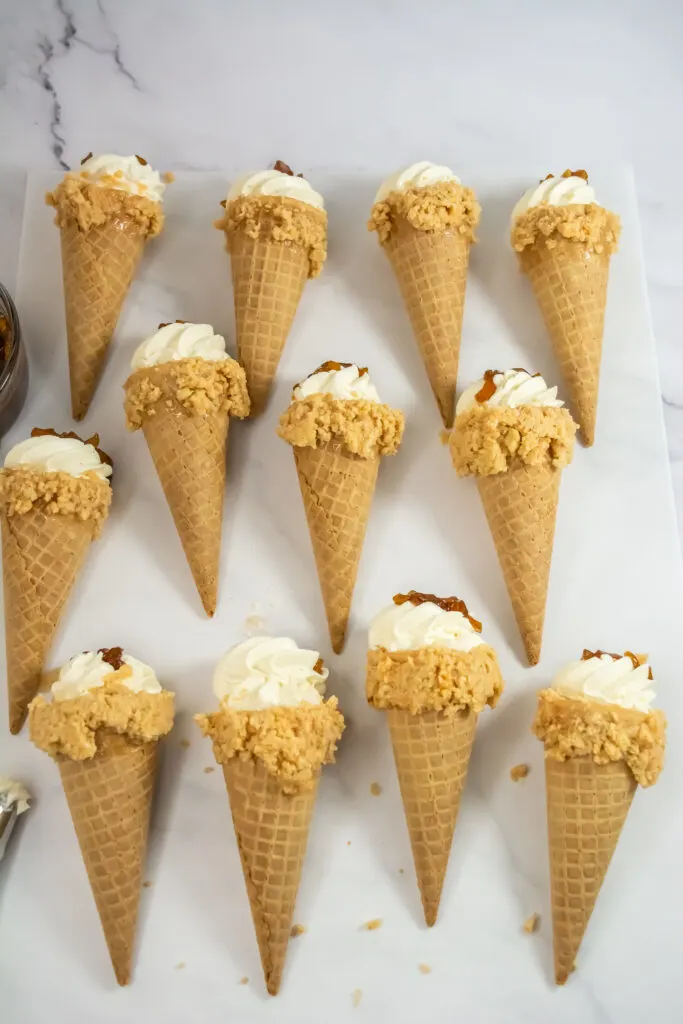
Use the piping bag to pipe a large dollop of the cheesecake filling inside of the waffle cone.

Use a spoon to press the peaches into the top of the cheesecake filling. Repeat with the remaining cones.

Store covered in the fridge until ready to serve.

Storage: Cones can be stored in the fridge until ready to serve. The filling will soften the cone so it is recommended to assemble within a few hours of serving. Cones will last in an airtight container in the fridge for up to 1 day once assembled.

Try These Recipes:
- Strawberry Crunch Cheesecake Cones
- How to Make Whipped Cream
- How to Clean a Baking Dish
- Desserts with Fresh Strawberries

Can I use store-bought peach cobbler filling?
Yes, store-bought peach cobbler filling works perfectly in this recipe. However, you can also make your own peach cobbler filling using fresh or canned peaches if preferred.
How long do these cheesecake cones last?
These peach cobbler cheesecake cones are best enjoyed fresh but can be stored in the refrigerator for up to 2 days. However, the cones may lose their crispness over time.


How to Make Peach Cobbler Cheesecake Cones
Indulge in the perfect summer treat with our peach cobbler cheesecake cones recipe! Creamy cheesecake filling with fragrant peaches in crispy cones are the perfect combination for a delightful dessert.
Ingredients
- For the crunch -
- 12 sugar cones
- 20 Golden Oreos, crushed
- 3 oz peach Jello mix
- ½ c unsalted butter, melted
- For the cheesecake filling -
- 16 oz cream cheese, softened
- ½ c sugar
- 1 t vanilla extract
- 8 oz package Cool Whip
- For the peaches -
- 2 c diced peaches (frozen or fresh are best)
- ¾ c brown sugar
- 1 t cinnamon
- ½ t salt
- For the glaze -
- 1 c powdered sugar
- ¼ c milk
Instructions
In a medium sized bowl, combine the crushed Golden Oreos, peach Jello mix and melted butter. Mix to combine until crumbly and looks like wet sand. Set aside.
In the bowl of a stand mixer, combine the softened cream cheese, vanilla and sugar. Cream the cream cheese mixture until smooth.
Fold in the Cool Whip until thoroughly combined.
Transfer the cheesecake filling to a piping bag fitted with a large star tip. Set aside until ready to use.
In a small saucepan, combine the diced peaches, brown sugar, cinnamon and salt. Heat over low heat for about 20 minutes, stirring occasionally. The mixture should be syrupy in consistency and the peaches tender. Allow to cool before assembly.
In another small bowl, combine the powdered sugar and milk for the glaze. Whisk to combine. Set aside.
To assemble - Dip the top of the cones into the glaze and immediately dip into the peach crunch mixture, pressing the crunch into the cone gently. Drizzle the cones with additional glaze and sprinkle additional crunch mixture over the cones, optional. Set aside and continue with the remaining cones.
Use the piping bag to pipe a large dollop of the cheesecake filling inside of the waffle cone.
Use a spoon to press the peaches into the top of the cheesecake filling. Repeat with the remaining cones.
Store covered in the fridge until ready to serve.
Storage: Cones can be stored in the fridge until ready to serve. The filling will soften the cone so it is recommended to assemble within a few hours of serving. Cones will last in an airtight container in the fridge for up to 1 day once assembled.
