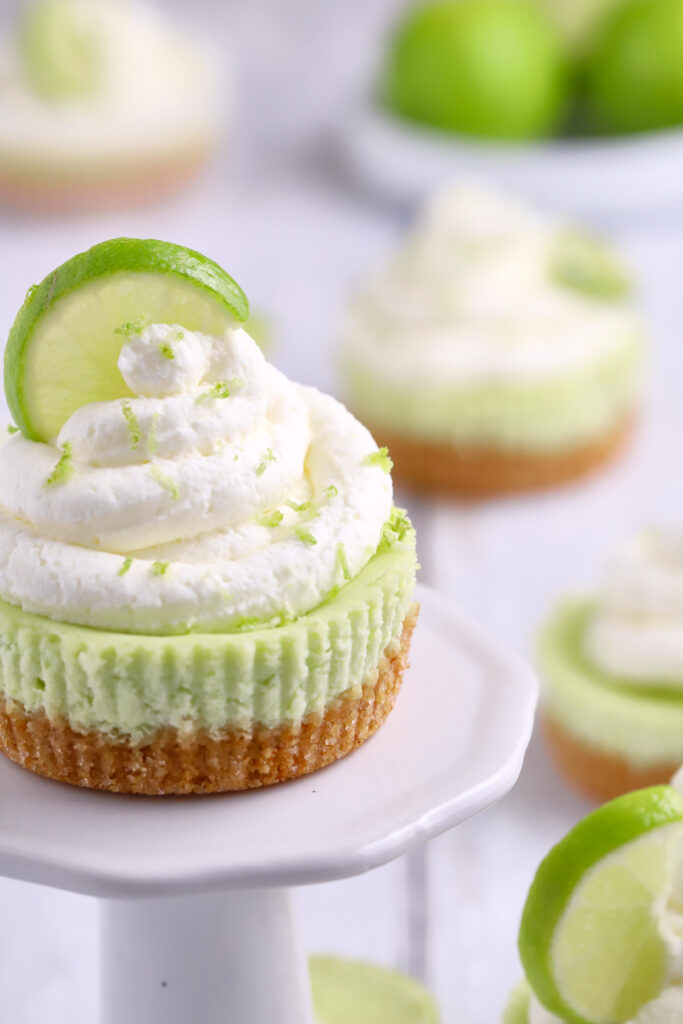
Mini Key Lime Cheesecakes
Mini Key Lime Cheesecakes are the perfect little dessert when you want big citrus flavor without a lot of fuss.
Learn how to make smooth, creamy mini cheesecakes with that classic tangy lime bite—no guesswork required.
These individual treats are ideal for parties, holidays, or anytime you want a make-ahead dessert that feels special but isn’t complicated.
From the buttery crust to the silky filling, every step is designed to be simple and approachable, even if you don’t bake often.
If you love desserts that are fresh, creamy, and crowd-pleasing, this recipe is one you’ll want to keep on repeat.

As an Amazon Associate, I earn from qualifying purchases. This post may contain affiliate links, meaning I may receive a small commission at no extra cost to you when you make a purchase through my links. Thank you for supporting my kitchen!
How to Make Mini Key Lime Cheesecakes
- Start by preheating the oven to 325°F and lining a muffin pan with cupcake liners.
- Make the crust by blending graham crackers into crumbs, then mixing with melted butter and sugar.
- Press the mixture into the liners and bake briefly until set.
- Next, prepare the filling by beating cream cheese, sour cream, and sugar until smooth. Use room-temperature cream cheese to help the filling mix smoothly and prevent lumps in your cheesecake batter.
- Mix in key lime juice, zest, vanilla, and optional food coloring, then gently blend in the egg. Don’t overmix after adding the egg. Mix just until combined to avoid air bubbles and cracking.

- Pour the filling over the cooled crusts and bake again until the tops are just set. Watch for doneness, not color. The tops should look set and no longer wet, but they should not brown.
- Let the cheesecakes cool completely, then chill in the refrigerator to fully set and enhances the key lime flavor.
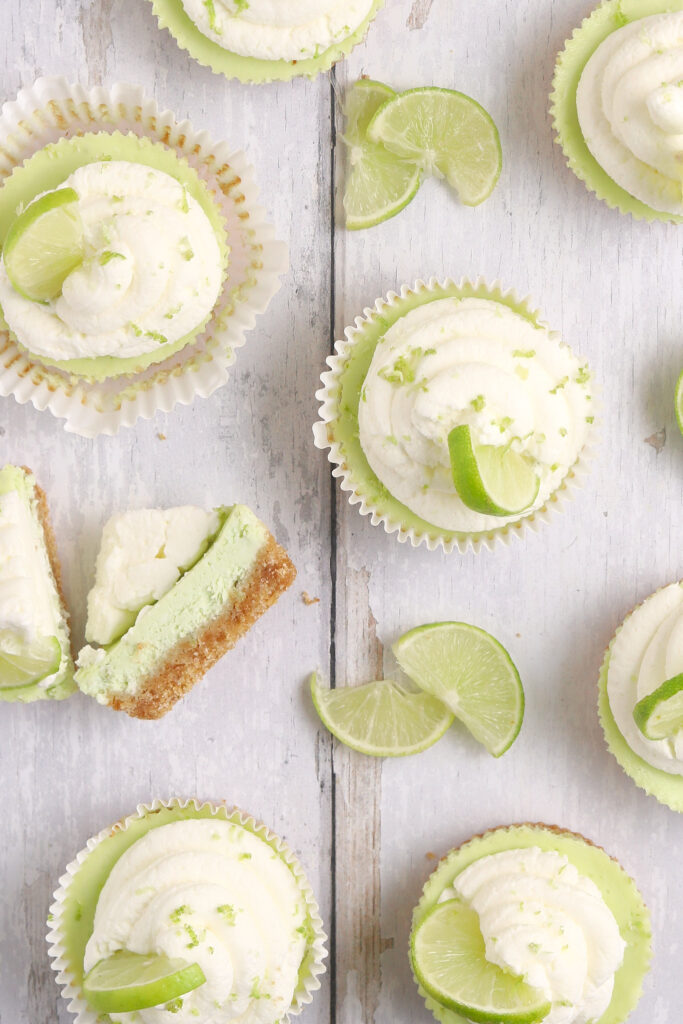
- Before serving, top with whipped cream and garnish with lime slices or zest if desired.

Yes. Regular lime juice works well and will still give you a delicious citrus flavor, though key lime juice has a slightly more tart taste.
They’re done when the tops look set and no longer glossy. A slight jiggle in the center is normal and will firm up as they cool.
Cracks usually happen from overmixing or overbaking. Mixing gently and removing them from the oven as soon as they’re set helps prevent this.
Absolutely. These cheesecakes can be made a day in advance and stored covered in the refrigerator until ready to serve.
Yes. Freeze them without toppings in an airtight container for up to 2 months. Thaw overnight in the refrigerator before serving.
ChefAide 5 Pieces Silicone Spatula Set, Food Grade Rubber Spatula, Upgrade Strong Handle with Ergonomic Grip, Heat Resistant Up to 600°F for Nonstick Cookware, CookingMicroplane Classic Zester Grater, Black
Farberware 12-c. Nonstick Nonstick Bakeware Muffin Pan, Gray
Bake Choice Non-Stick 400pcs Mini Cupcake Liners for Baking, Natural parchment muffin liners for Mini Muffin Pan, Cupcake Pan, Food Grade, Non Stick, Greaseproof
HOMURE H Cookie Scoop 2 Tablespoon, Size #40 Cookie Dough Scoop, 2 Tbsp/ 30 ml/ 1 oz Cookie Scoops for Baking, Spring-Loaded, 18/8 Stainless Steel, Comfortable Grip


Don’t miss these other mini dessert ideas that are just as fun and irresistible!
- If you’re loving the bright, citrusy flavor of key lime, you need to try these mini key lime pies and this easy no bake key lime pie fluff as well!
- Mini graham cracker crust recipes are perfect for creating easy, individual desserts like cheesecakes, pies, and no-bake treats with a buttery base that holds together beautifully.
- Mini Pumpkin Swirl Cheesecakes are a cozy, bite-sized dessert with a creamy cheesecake base and a beautiful swirl of warm pumpkin flavor.
- Mini Red Velvet Cheesecakes deliver that classic cocoa flavor and rich color in an easy, individual-sized treat that’s perfect for parties.


Mini Key Lime Cheesecake Recipe
Ingredients
Crust:
- 6 Sheets of Graham Cracker 3/4 cup graham cracker crumbs
- 3 tablespoons butter melted
- 2 tablespoons white granulated sugar
Filling:
- 12 ounces cream cheese
- ¼ cup sour cream
- ½ cup white granulated sugar
- 3 tablespoons key lime juice
- 1 teaspoon key lime zest
- 1 teaspoon vanilla extract
- 1 large egg
- 1 drop green dye optional
Topping:
- Whipped cream of choice
- Key lime slices and key lime zest for garnish
Instructions
- Preheat your oven to 325 degrees F.
- Using a standard 12-count muffin pan, line each cavity with paper cupcake liners.
- Place your graham crackers into a blender or food processor and blend until you have fine crumbs.
- Pour the crumbs into a medium size mixing bowl and add the melted butter and sugar. Stir together until combined.
- Evenly distribute the graham cracker mixture into each cavity and press down using your thumb.
- Bake the crust for 5 minutes at 325 degrees F.
- Remove and allow to cool.
- Using a hand-held mixer or a standing mixer with the paddle attachment make the creamy key lime cheesecake filling.
- Add the cream cheese, sour cream, granulated white sugar, and beat on medium speed until well combined.
- Add in the key lime juice, zest, vanilla extract, and dye and continue to mix until combined.
- Finally, add the egg into the cream cheese mixture and beat until just combined.
- Evenly pour the key lime filling into each of the paper liners
- Place back into the oven on 325 degrees F. for another 15 minutes. The tops should no longer appear wet.
- Take out of the oven and allow the cheesecakes to fully cool.
- Place cheesecakes into the refrigerator for one hour to chill.
- Add a dollop of the whipped topping on the tops of the cheesecakes and garnish with a lime slice if desired.
One Comment