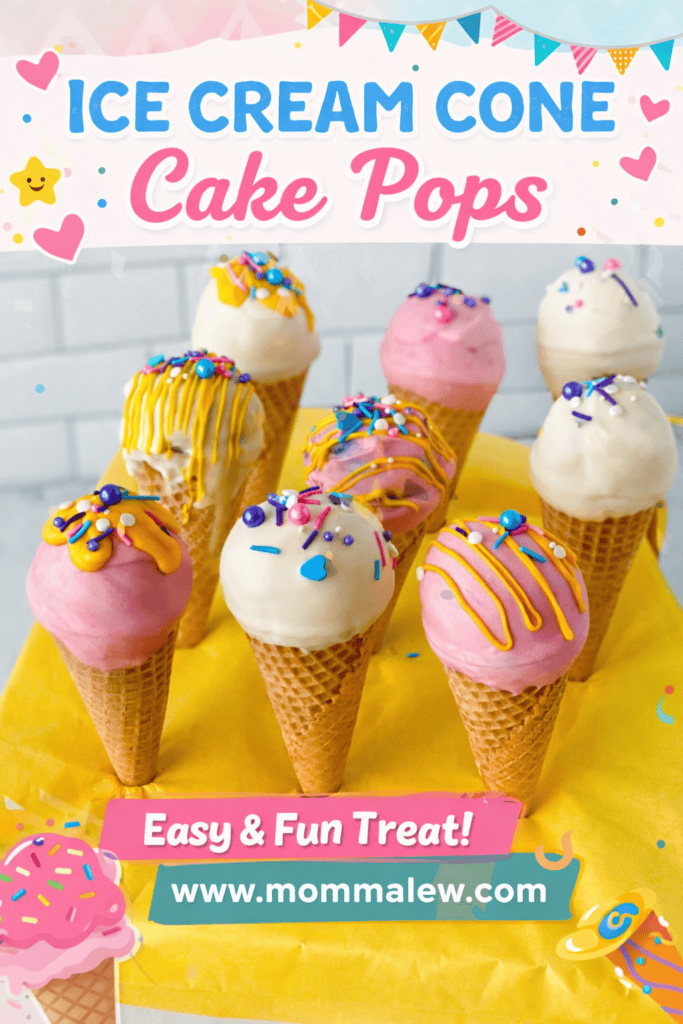
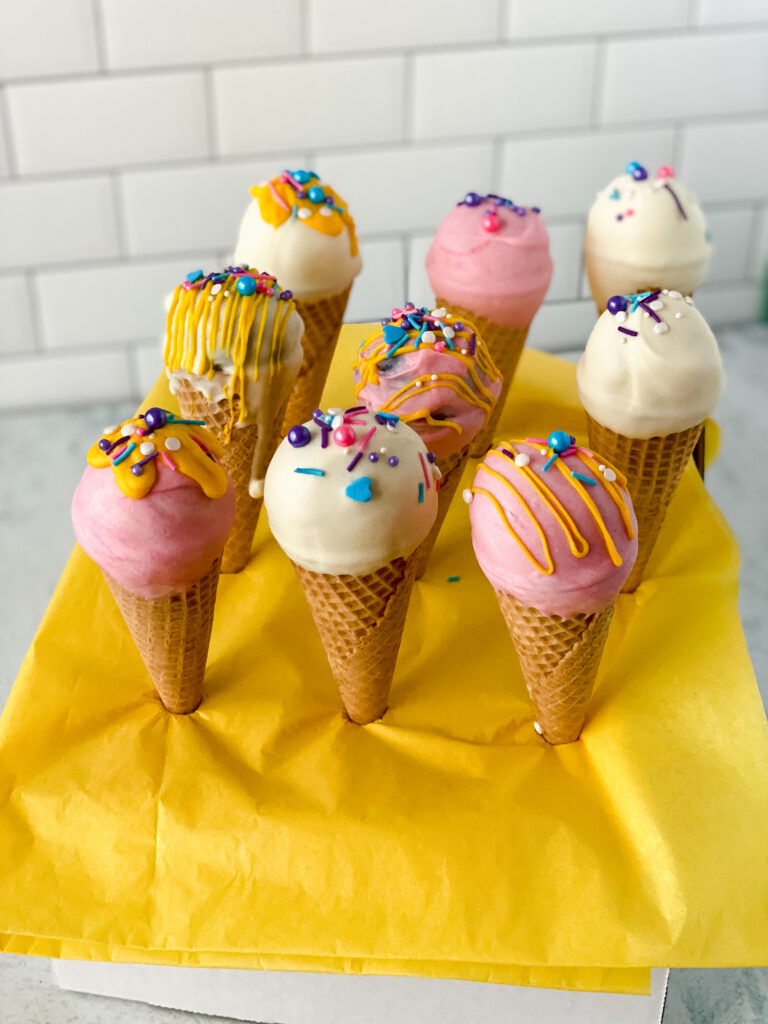
Ice Cream Cone Cake pops
Ice Cream Cone Cake Pops are the kind of dessert recipe that instantly makes people smile — and if you’ve ever needed a party treat that looks impressive but is secretly simple, this is it.
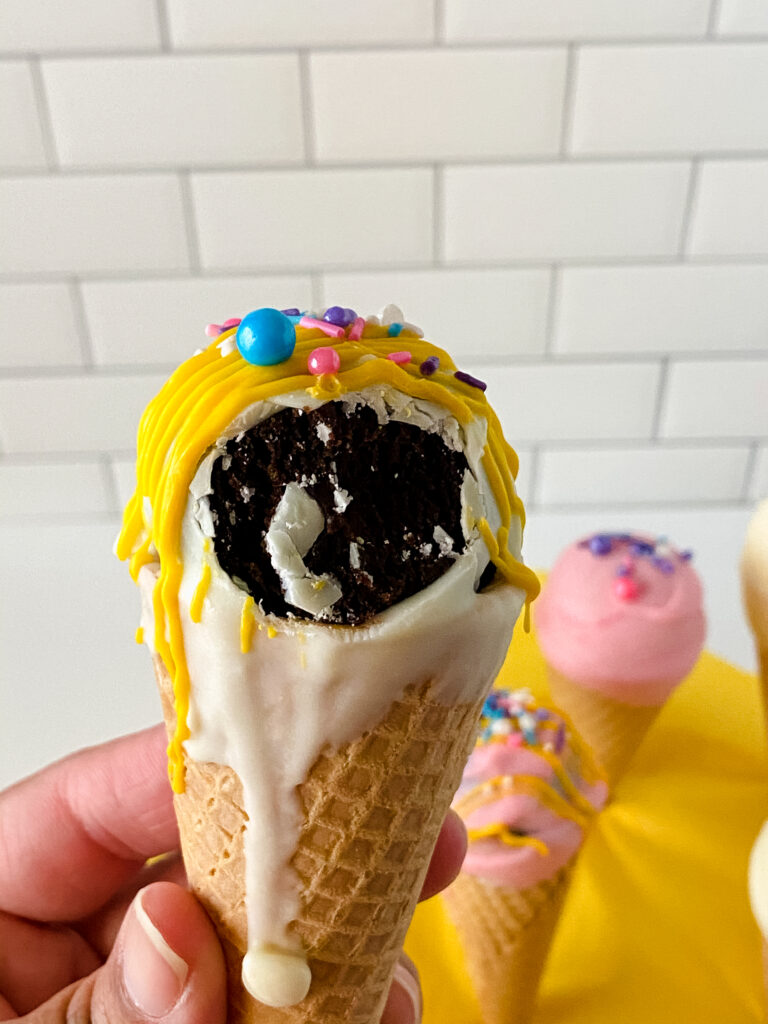
They look like tiny scoops of ice cream, but surprise — inside that crunchy cone is rich, moist cake topped with creamy frosting and sprinkles, tasting just as soft, chocolatey (or any flavor you love), and perfectly sweet as they are adorable.
They’re perfect for birthday parties, summer BBQs, classroom celebrations, or anytime you want a dessert that feels extra special without the extra effort.
As an Amazon Associate, I earn from qualifying purchases. This post may contain affiliate links, meaning I may receive a small commission at no extra cost to you when you make a purchase through my links. Thank you for supporting my kitchen!
How to Make Ice Cream Cone Cake Pops
- Start with your favorite homemade cake recipe or a boxed mix for an easy shortcut.
- Once the cake is completely cooled (don’t rush this step!), crumble it into fine crumbs and mix in frosting a little at a time until the mixture holds together like soft dough.
- Go slow with the frosting so it doesn’t get too wet — you want it moldable, not sticky. Start small — about ¼ cup at a time — and mix well before adding more. The mixture should hold together when pressed but shouldn’t feel sticky or greasy. If you can roll it into a smooth ball without cracks, you’ve added just enough frosting.
- Next, make a quick ganache by pouring hot heavy cream over chocolate chips and whisking until smooth. This acts as your “glue,” helping the cake balls stay secure in the cones.
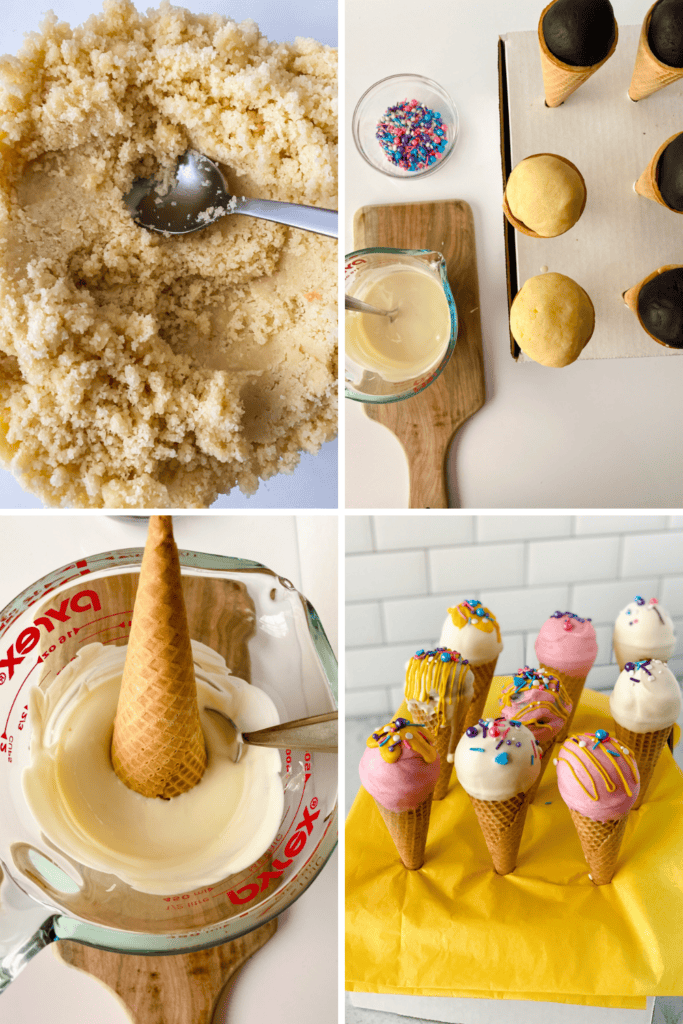
- Roll 2-tablespoon portions into balls, dip the bottoms in ganache, and gently press them into flat-bottom sugar cones.
- Let them chill so they firm up — this prevents cracking later.
- Melt your candy wafers in short intervals (stir often to avoid scorching), then dip and swirl each cake ball to coat. If the coating thickens, just reheat briefly.
- Stand them upright while they set, and finish with extra drizzle and sprinkles for that fun ice cream sundae look.
Don’t Forget To…
- Scroll down to print the full recipe with step-by-step instructions and exact measurements.
- Check out my Kitchen Essentials for the pans, mixing bowls, and baking tools I use to make this recipe a breeze.
- Save or share this recipe on Pinterest!

You don’t have to, but chilling them is definitely important. After rolling the cake balls and attaching them to the cones, refrigerate them for at least 15–30 minutes so they firm up. This helps prevent cracking and keeps them from sliding off when you dip them into the melted chocolate. Freezing for 10–15 minutes can work if you’re short on time, but don’t leave them in too long — extreme temperature changes can cause the coating to crack.
Texture – The cake-to-frosting ratio has to be just right — add frosting slowly until the mixture holds together like soft dough, not sticky paste. If it’s too wet, they’ll fall apart or feel dense; if it’s too dry, they’ll crack.
Thick, store-bought frosting works great because it’s consistent and stable. Buttercream is the most popular choice since it blends smoothly with cake crumbs and holds its shape. Avoid whipped or overly soft frostings — they can make the mixture too wet and cause your cake pops to fall apart.
Cracking usually happens because the cake balls are too cold and the melted chocolate is too warm. Let chilled cake pops sit at room temperature for a few minutes before dipping to reduce the temperature shock. Also, make sure your melted coating isn’t overheated.
This usually means the cake mixture was too soft or not chilled long enough. Make sure to add frosting gradually, chill before dipping and use ganache or melted chocolate as “glue” inside the cone. A firm base makes all the difference.
If you love fun, creative desserts that make people do a double take, you’re definitely going to want to check out these delicious ideas too!
- This playful Melted Ice Cream Cone Cake looks like a toppled ice cream cone and makes the ultimate centerpiece for birthdays, summer parties, or anytime you want a dessert that steals the show.
- Cheesecake cones combine creamy, rich cheesecake filling with a crunchy cone for an easy, handheld twist on a classic favorite.
- No bake cake balls are perfect when you need a quick, crowd-pleasing treat without turning on the oven.
- These birthday party snacks are fun, colorful, and easy to grab, making them ideal for keeping guests happy without the mess.
- Ice cream cone cupcakes are baked right inside sugar cones and topped with fluffy frosting to look like real scoops of ice cream!
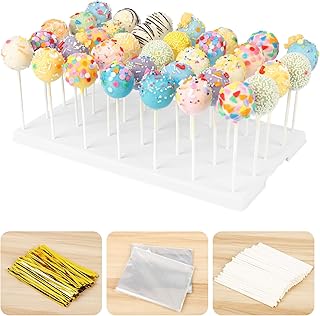
Cake Pop Display Stand Holder, 35 Holes with 100 Pcs Sticks, Bags, Gold Ties – Essential Kit for Cakepop & Lollipop (White) Ghirardelli Premium White Coating Wafers, 5lb BagBayep Rainbow Sprinkles for Cake Decorating Star Bulk Sprinkles for Ice Cream, Cookies, Baking, Cupcake Topper Colorful Sprinkles Perfect for Birthday Party Christmas Holiday Supplies 3.52 OunceRainbow Sprinkles for Cake Decorating, 4.6Oz Pastel Jimmies and Pearls Sprinkles Mix for Donut Cookie Baking Brownies Cupcake Ice Cream Toppings


Ice Cream Cone Cake Pops Recipe
Ingredients
- A box of cake mix of your choice or ingredients for a homemade cake
- 13 sugar ice cream cones
- 3 cups pre-baked cake crumbs
- 1 ⅓ cup white or Chocolate chips
- 1 cup heavy cream
- 1 cup colored white chocolate or candy melts
- ½ cup milk chocolate
Instructions
- Line a baking sheet with parchment paper.
- Prepare your cake according to the box or recipe instructions, bake in a cake pan.
- Your cake is done when a toothpick comes out clean in the center.
- Let your cake cool until it is cool enough to handle.
- While the cake is at room temperature, prepare the ganache. Heat heavy cream in a heavy bottomed saucepan. When it reaches a simmer, take it off the heat and pour it over the chocolate.
- Let it sit for 3-4 minutes on the chocolate and then whisk until the chocolate has melted.
- Next, prepare the ice cream cones. Using a pair of closed sharp scissors, punch holes in the top of a cardboard box. Then stand the cones upright.
- There are two different methods you can follow to make your ice cream cone cake pops. If using cake pop dough: Using an ice cream scoop, form golf ball sized cake balls, dip the bottoms into ganache and set on top of cone. Place in freezer to harden for at least one hour.
- If using cake crumbs and ganache: Using your hands, make fine crumbs out of your cooled cake. Mix the cake mixture with ½ cup of ganache in a large bowl. If you do not have an ice cream scoop or a cookie scoop, scoop out 2 tablespoon size balls. Place onto parchment lined baking sheet, freeze for about an hour.
- Remove your set of cake balls and dip cake ball in a little bit of ganache and place it securely on top of the cone.
- Place the cones back in the fridge to set hard for about 1 hour.
- Melt some white chocolate melting wafers in a microwave safe bowl in 30 second increments and color with a small amount of gel food coloring (or use pre colored candy melts). You can do different colors in separate bowls.
- Dip the top of the cake pop into the chocolate and give it a quick swirl to coat it completely.
- You may find that you need to heat your melted candy now and again throughout this process.
- Stand your cake pops up in one of your cardboard boxes. Line the bottom with wax paper to catch the excess melted chocolate.
- Once the chocolate sets you can add some melted milk chocolate and sprinkles to finish creating the ice cream cones to give them an ice cream sundae look.
- You can add a red jelly bean or red m&m to the top of the cake ball to look like a cherry.
Notes
- Make and freeze undecorated cake balls for up to 2 months
- Store finished cake pops in the refrigerator for up to 5 days
- Keep them at room temperature for 1–2 days in an airtight container
3 Comments