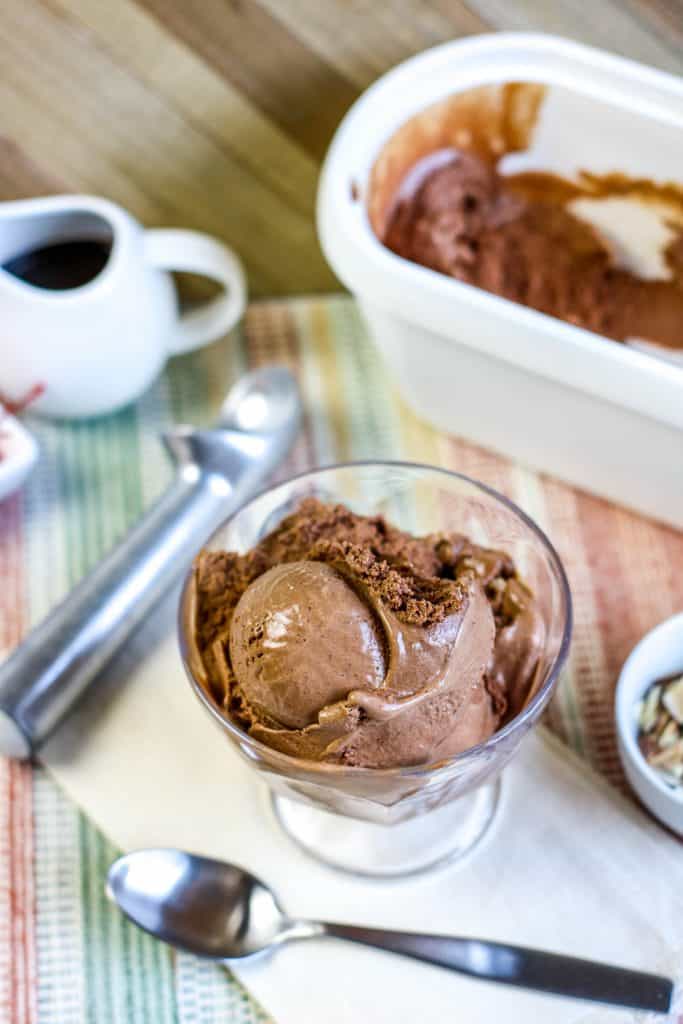
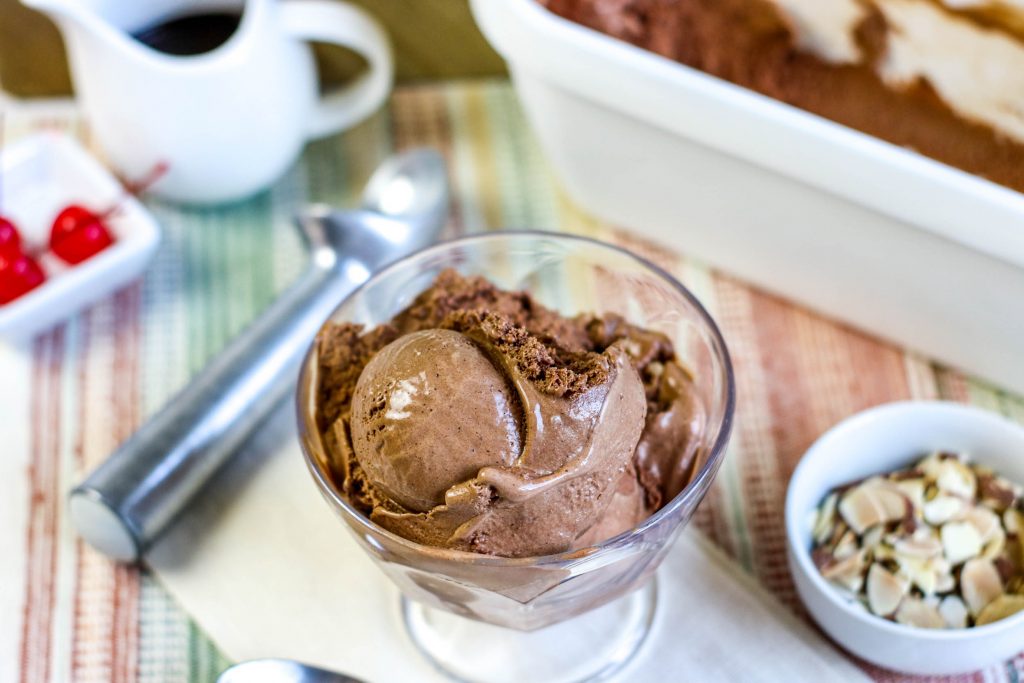
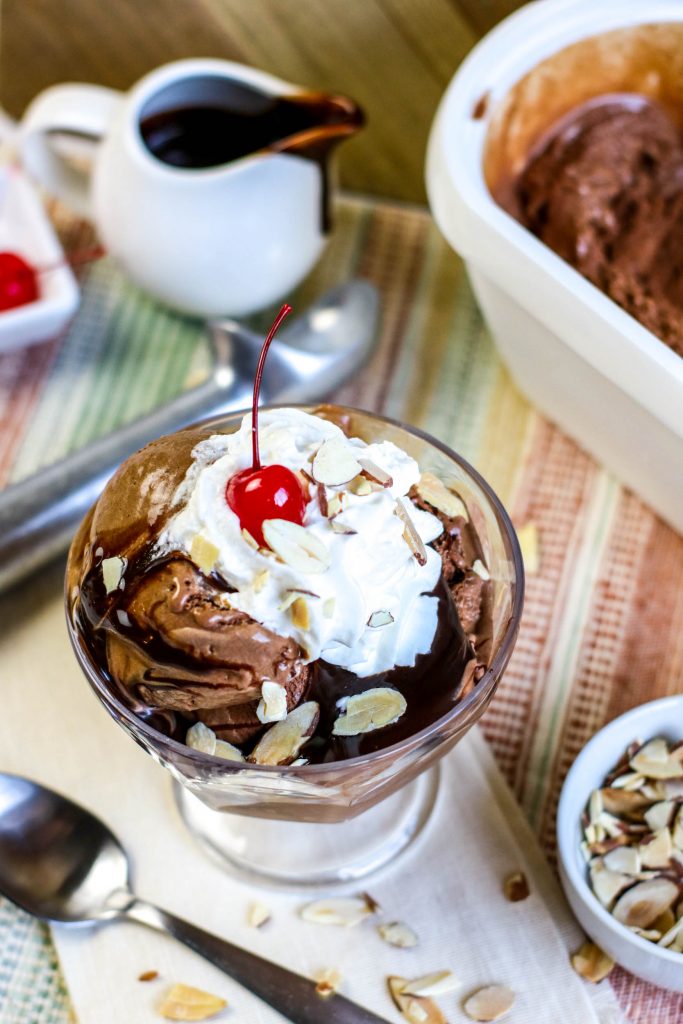
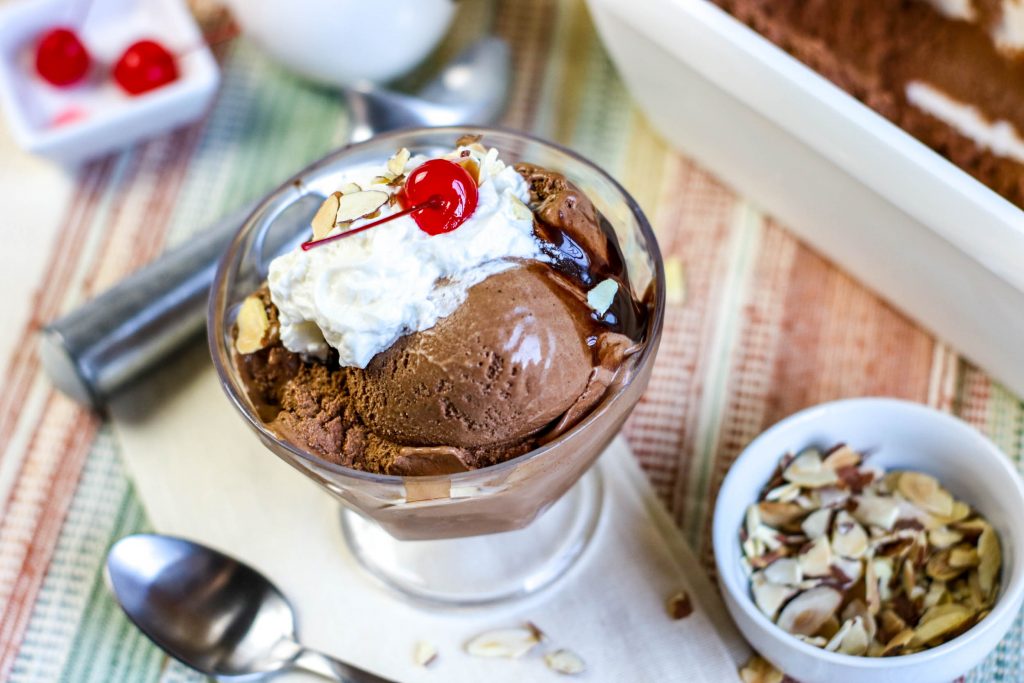
No Churn Chocolate Ice Cream
No churn chocolate ice cream is the perfect solution when you’re craving a rich, creamy frozen treat but don’t want to fuss with an ice cream machine.
If you’ve ever wished homemade ice cream could be simple, quick, and still taste incredibly decadent, this recipe delivers.
Smooth, chocolatey, and irresistibly scoopable, it has that classic dessert shop flavor with almost no effort.
It’s a family-friendly dessert that’s perfect for summer nights, celebrations, or anytime a chocolate craving strikes.
Once you see how easy it is, you’ll want to keep a batch in your freezer all season long.

As an Amazon Associate, I earn from qualifying purchases. This post may contain affiliate links, meaning I may receive a small commission at no extra cost to you when you make a purchase through my links. Thank you for supporting my kitchen!
Is it possible to make ice cream without a machine?
Yes, it’s absolutely possible and it’s actually much easier than most people think. No-churn ice cream, skips the traditional churning process by using ingredients that naturally create a creamy texture as the mixture freezes.
Most recipes use a simple base like heavy whipping cream and sweetened condensed milk.
The cream is whipped until fluffy, then folded with the condensed milk and flavorings (like cocoa powder, vanilla, or fruit). When frozen, the whipped cream keeps the mixture light and scoopable instead of icy.
How do you make chocolate ice cream without an ice cream maker?
- Start by putting a loaf pan in the freezer to chill.
- Sift the cocoa powder. Cocoa powder can clump easily and this helps create a smooth, rich chocolate base.
- In a large bowl mix together the ice cream base: condensed milk, cocoa powder, vanilla and salt.
- In the bowl of a stand mixer or a separate bowl using an electric hand mixer, whip the heavy cream on medium high until stiff peaks form. For best results, be careful not to over-whip. The whipped cream adds air to the mixture, replacing the job of an ice cream machine. Make sure the peaks hold their shape when you lift the mixer.
- Combine about a cup of the whipped cream in your cocoa mixture and mix until well combined. Fold this mixture into the whipped cream mixture until it is all well blended.
- Stir in mix-ins before freezing. Chocolate chips, crushed cookies, brownie pieces, or peanut butter swirls add fun texture and flavor.
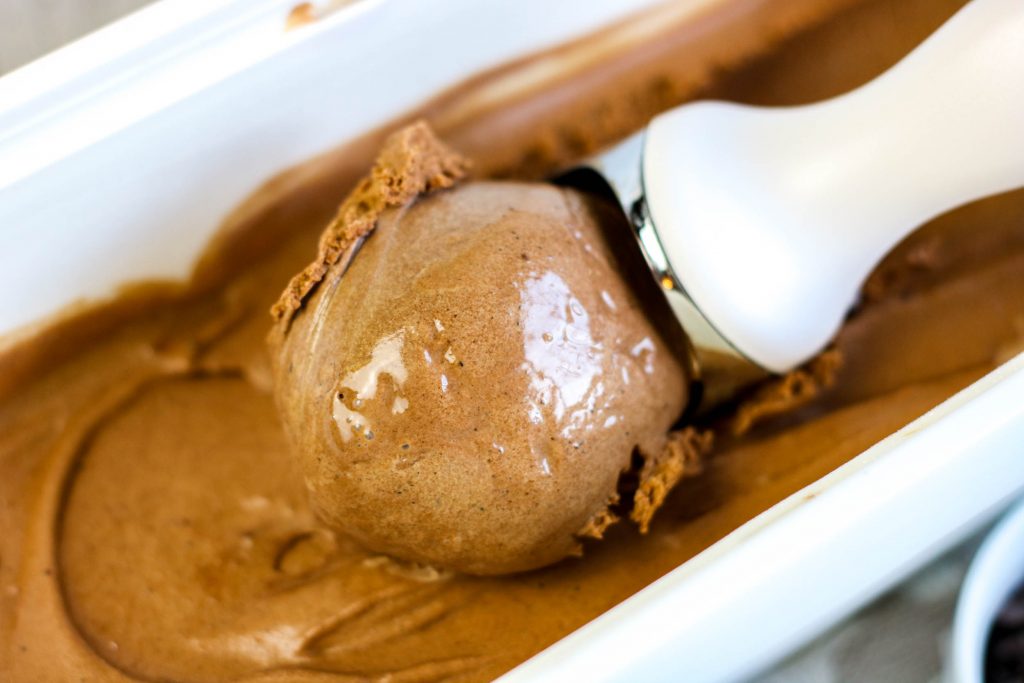
- Spoon your chocolate ice cream into your loaf pan and cover with plastic wrap.
- Let the ice cream freeze for at least 6 hours or overnight until firm.
Don’t Forget To…
- Scroll down to print the full recipe with step-by-step instructions and exact measurements.
- Check out my Kitchen Essentials for the pans, mixing bowls, and baking tools I use to make this recipe a breeze.
- Save or share this recipe on Pinterest!
Most no-churn recipes need about 6 hours or overnight to fully set.
This usually happens if the whipped cream was under-whipped or the mixture wasn’t sealed well in the freezer.
If you’re in the mood for something sweet, be sure to check out these delicious dessert ideas as well.
- Frozen treats are perfect for cooling down on warm days, and these easy recipes offer plenty of creamy, refreshing dessert inspiration.
- If you can’t get enough cocoa-rich flavor, these chocolate desserts are packed with indulgent options that every chocolate lover will enjoy.
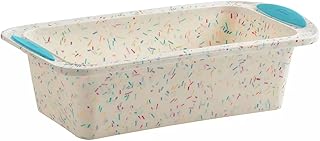
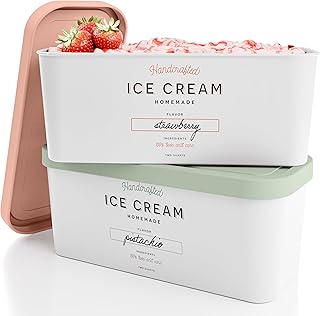
OXO Good Grips Solid Stainless Steel Ice Cream Scoop Trudeau Structure Silicone Loaf Pan with Steel Rim, 8.5 x 4.5, Nonstick Bakeware, White Confetti with Blue Base, BPA-Free, Oven Safe to 428°F, Dishwasher SafeZICOTO Set of 2 Reusable Ice Cream Tub Containers 2 Quart Each – Perfect for Homemade Sorbet, Frozen Yogurt Or Gelato – Stackable Storage Containers, Stickers And Lids Stores Easily In FreezerIce Cream Containers for Homemade (4 Pack – 1 Quart Each), Reusable PP Plastic Ice Cream Storage Containers for Freezer, Leak-Free Ice Cream Containers with Silicone Lids


Homemade Chocolate Ice Cream Without Machine
Ingredients
- 14 oz can sweetened condensed milk
- ½ cup unsweetened cocoa powder
- 2 tsp vanilla extract
- pinch salt
- 2 cups heavy cream
Instructions
- Start by putting a loaf pan in the freezer to give it a chill.
- In a large bowl mix together condensed milk, cocoa powder, vanilla and salt.
- In a stand mixer or another bowl using a hand mixer, whip the heavy cream on medium high until stiff peaks form.
- Combine about a cup of the whipped cream in your cocoa mixture and mix until well combined.
- Fold this mixture into the whipped cream mixture until it is all well blended.
- Spoon your no churn chocolate ice cream into your loaf pan and cover with plastic wrap.
- Freeze chocolate ice cream for 4-5 hours.
2 Comments