
Burnt End Baked Beans
Looking for the ultimate Burnt End Beans Recipe to serve at your next barbecue or family cookout?
This hearty side dish combines smoky burnt ends with baked beans, crispy bacon, onions, brown sugar, and tangy barbecue sauce for a rich, flavorful recipe that’s always a crowd favorite.
It’s the perfect way to use leftover burnt ends while creating a side that’s hearty enough to steal the spotlight from the main course.
Whether you’re planning a summer BBQ, tailgate, potluck, or weeknight dinner, these smoky baked beans are easy to make, packed with bold flavor, and guaranteed to disappear fast.
Why You’ll Love Burnt End Beans
- Great way to use leftover burnt ends
- Loaded with smoky brisket burnt ends
- Perfect for BBQs, potlucks, and tailgates
- Easy to make with canned baked beans
- Sweet, smoky, and slightly spicy flavor
- Can be made in the oven or smoker
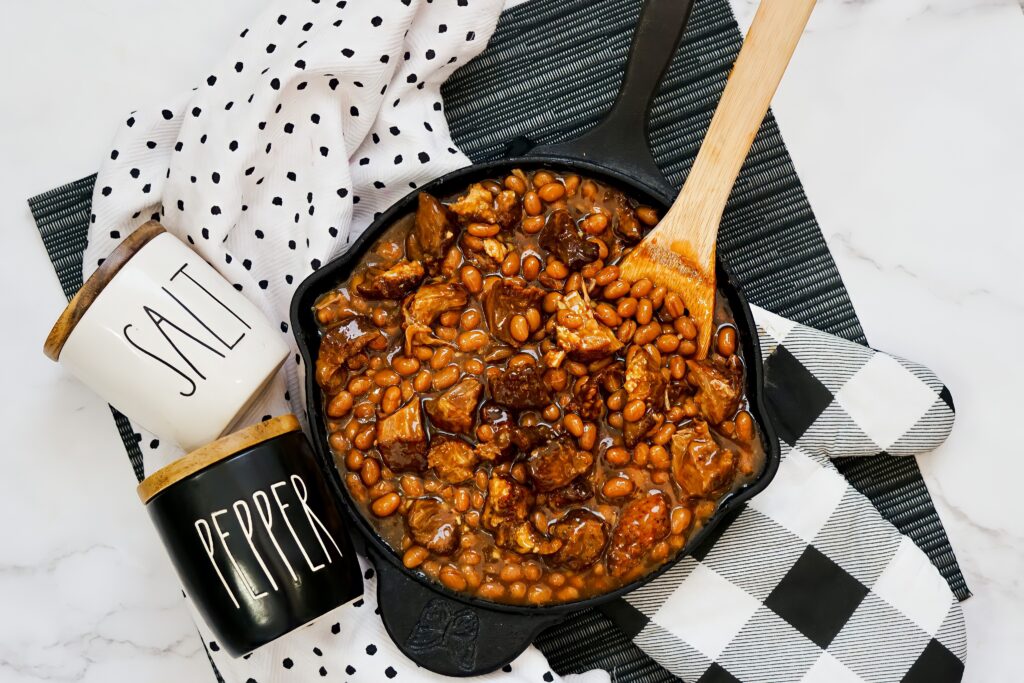
How to Make Burnt Ends Beans
- Combine everything in a Dutch oven or casserole dish, give it a stir, and bake!
- After a quick stir halfway through, finish baking to get a rich, smoky flavor that pairs perfectly with BBQ favorites.

They’re just as good reheated, so you can make a big batch and enjoy them all week long.
Try learning how to make your own burnt ends for a tender, caramelized treat that’ll elevate any backyard meal.
Don’t Forget To…
- Scroll down to print the full recipe with step-by-step instructions and exact measurements.
- Check out my Kitchen Essentials for the pans, mixing bowls, and baking tools I use to make this recipe a breeze.
- Save or share this recipe on Pinterest!

Yes. Assemble the beans up to a day ahead, refrigerate, and bake just before serving.
Canned baked beans are the easiest option, but pinto beans or navy beans can also be used with homemade sauce.
Absolutely. Smoke the assembled beans at 250°F for 45-60 minutes for even more smoky flavor.
Consider pairing Burnt End Baked Beans with your favorite barbecue dishes like pulled pork or slow cooker chicken legs for a complete meal. For sides, opt for traditional barbecue sides such as coleslaw, cornbread, or macaroni salad to enhance the smoky flavors.
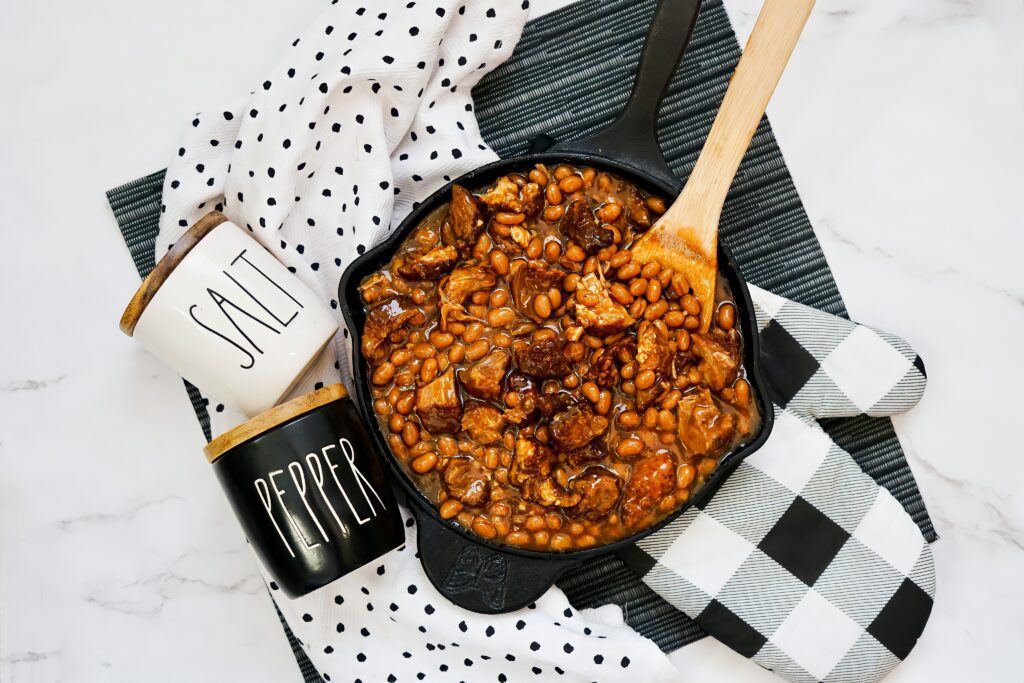

Burnt End Baked Beans Recipe
Ingredients
- 28 oz Baked Beans
- ¼ Cup Ketchup
- ¼ Cup Yellow Mustard
- ¼ Cup Brown Sugar
- 2 Tablespoons Minced Garlic
- 1 Tablespoons Worcestershire Sauce
- 2 Cups Burnt Ends
Instructions
- Pre-heat oven to 350 degrees
- In a cast iron pan or casserole dish? add all of the ingredients
- Stir
- Bake for 30 minutes
- Remove from oven and give the baked beans a good stir
- Place back in the oven for 20 minutes
- Serve & enjoy.
2 Comments