How to Make Cakesicles
If you’re looking for an easy cakesicles recipe, these chocolate-covered cake popsicles are perfect for birthdays, holidays, baby showers, or any celebration.
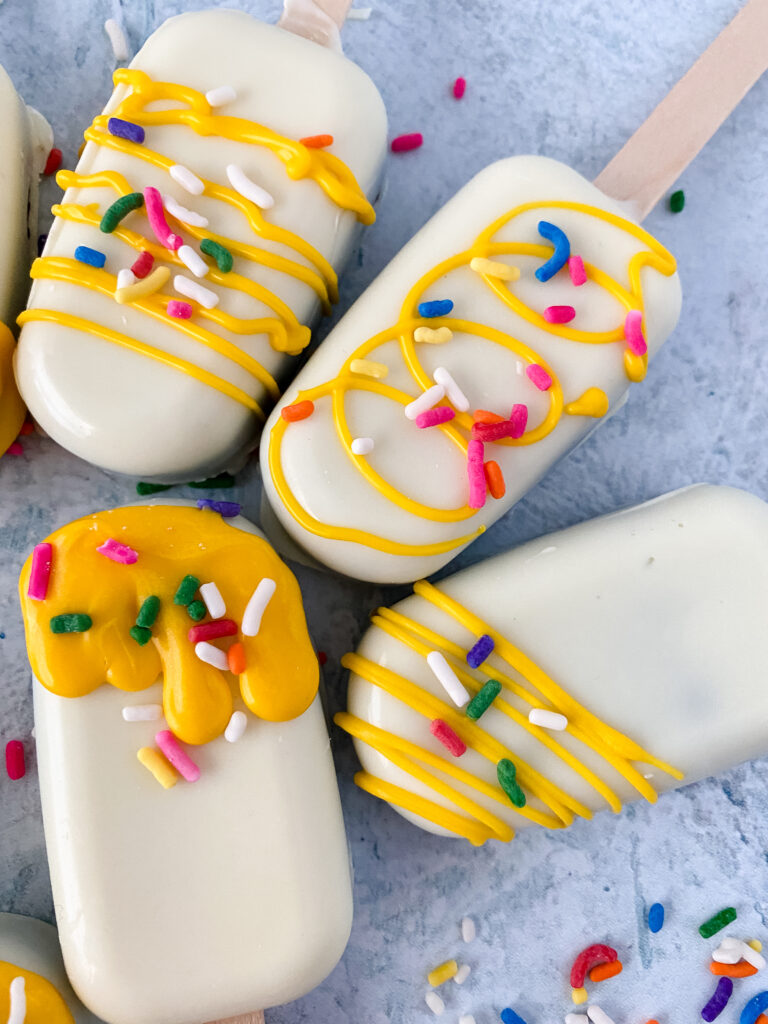
Made with crumbled cake, frosting, and a candy coating shell, this dessert recipe is fun to decorate and surprisingly simple to make at home.
Whether you’re using homemade cake or a boxed cake mix, this recipe walks you through every step so you’ll get smooth chocolate shells and perfectly shaped cakesicles every time.

As an Amazon Associate, I earn from qualifying purchases. This post may contain affiliate links, meaning I may receive a small commission at no extra cost to you when you make a purchase through my links. Thank you for supporting my kitchen!
What Are Cakesicles?
- Decorated with sprinkles, drizzle, or edible glitter.
- Cakesicles are cake pops in popsicle form.
- Made from crumbled cake mixed with frosting.
- Molded in silicone molds.
- Covered with melted chocolate or candy melts.
What are cakesicles made of?
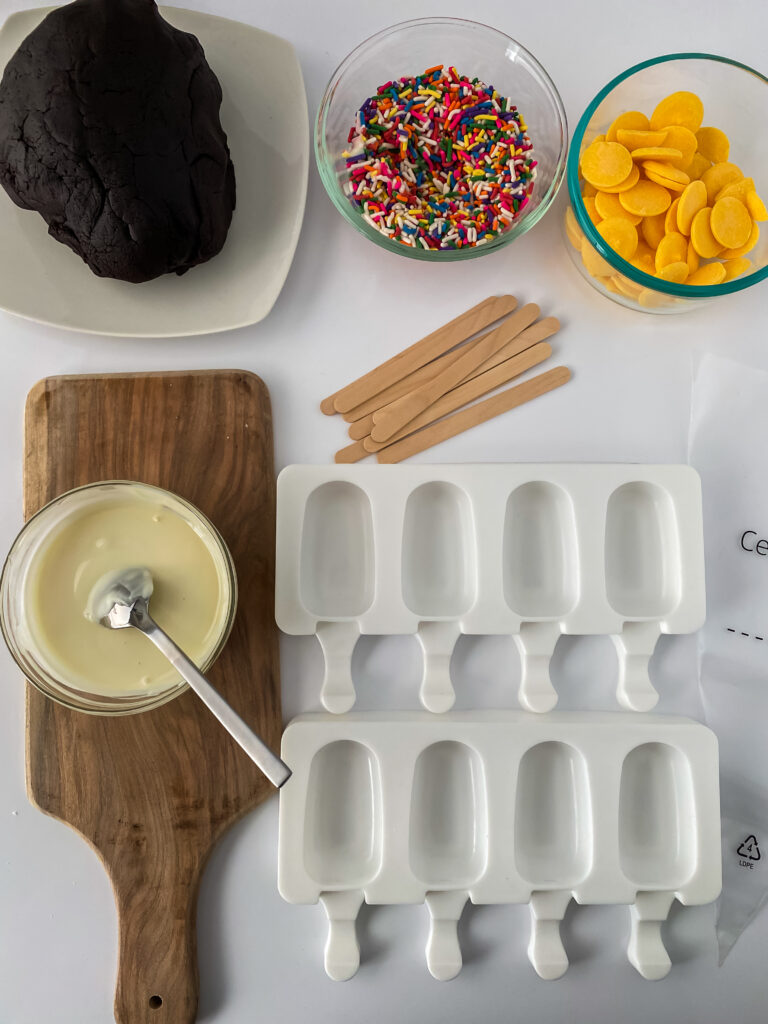
- Baked cake – (homemade or boxed cake mix) crumbled into fine crumbs
- Frosting – mixed into the crumbled cake
- Chocolate coating
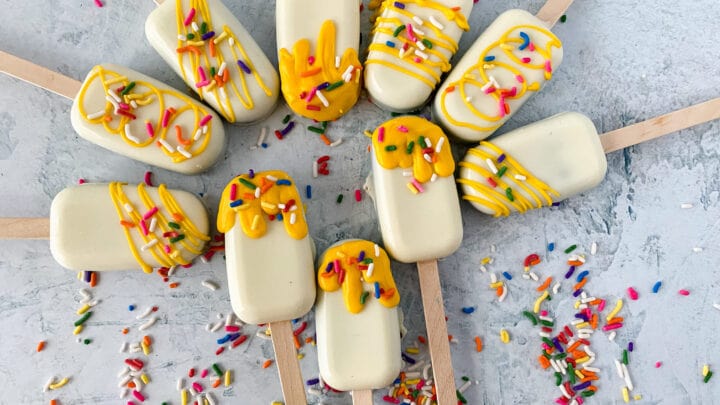
For extra flair, you can decorate them with sprinkles, chocolate drizzle, crushed cookies, edible glitter, or colored sanding sugar to match any holiday or celebration.
How to Make Cakesicles
- Start by baking your favorite cake recipe and crumbling it with frosting to form a dough-like consistency.
- Shape the mixture into cakesicle molds and freeze.
- After setting, dip the cakesicles in melted chocolate and decorate with your favorite toppings.
- Let them set and enjoy!
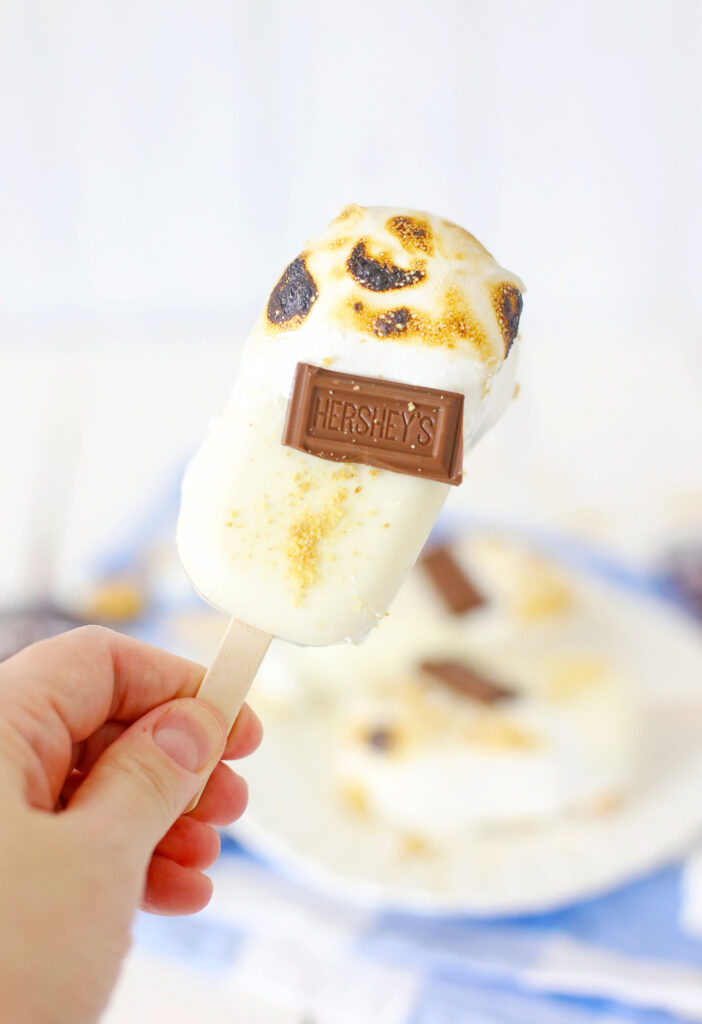
If you loved this easy cakesicles recipe, be sure to check out more cakesicle recipes for fun decorating ideas, seasonal designs, and creative flavors perfect for every celebration.
Don’t Forget To…
- Scroll down to print the full recipe with step-by-step instructions and exact measurements.
- Check out my Kitchen Essentials for the pans, mixing bowls, and baking tools I use to make this recipe a breeze.
- Save or share this recipe on Pinterest!
They’re very similar because both are made from crumbled cake mixed with frosting and coated in chocolate. The biggest difference is the shape. Cake pops are round and served on lollipop sticks, while cakesicles are made in popsicle molds, giving them a larger size and more room for decorating.
A standard 15.25-ounce boxed cake mix typically makes 10–14 cakesicles, depending on the size of your silicone mold and how much cake filling you use in each one.
Most cakesicles are coated in melted candy melts because they harden quickly and create a smooth finish. You can also use tempered white, milk, or dark chocolate, then decorate with sprinkles, sanding sugar, or chocolate drizzle.
Yes! Freeze fully decorated cakesicles in an airtight container for up to 2 months. Thaw overnight in the refrigerator before serving.
Tips for the Best Cakesicles
- Let the cake cool completely before crumbling.
- Don’t add too much frosting or the filling becomes soft.
- Tap the mold to remove air bubbles.
- Chill between chocolate layers.
- Use good-quality candy melts for smooth shells.
- Freeze for 5–10 minutes to help release them from the mold.
- Let the chocolate cool slightly before coating the mold to prevent cracking.
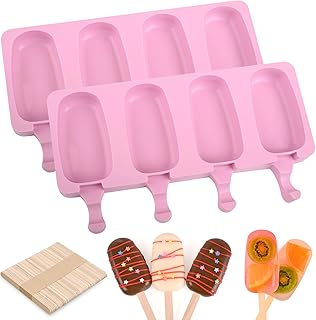
WMKGG Popsicle Silicone Molds Set, 2 PCS Ice Cream Molds with 50 Wooden Sticks for Cake Pop, Ice Pop, Cakesicles (Standard Size/Pink)Shappy 200 Pieces Cellophane Treat Bags 4×6 inches Ice Lolly Bags Set 100 Pcs Clear Treat Bag with 100 Pcs Twist Ties Cake Plastic Bag for DIY Making Dessert Supplies Chocolate Cookie Wrapping
Gejoy 2 Pcs Cakesicle Stand Display Acrylic Cake Pop Stand Reusable Cake Pop Holder Clear Lollipop Holder and 100 Pcs Wood Ice Cream Sticks for Birthday Wedding Baby Shower Parties Dessert Table


How to Make Cakesicles
Ingredients
- Cake pop dough
- Colored or White Candy Melts: Almond bark melting chocolate bars or Ghirardelli melting wafers
- Parchment paper lined baking sheets
- Piping bags
- Microwave safe bowls
- silicone moulds
Instructions
- Start by baking your cake according to the instructions on the box or your recipe.
- Let it cool completely.
- Once the cake is cooled, crumble it into a large bowl using your hands or a fork. You want the pieces to be small and even.
- Add a few tablespoons of frosting to the cake crumbs and mix well until it holds together but isn’t too soggy. You want the consistency to be like playdough.
- Use a cakesicle mold and pack the cake mixture tightly into the mold.
- Press it down firmly to ensure they hold together.
- Place the filled mold in the freezer for about 15-20 minutes to set.
- This makes the cakesicles easier to remove and dip.
- Once the cakesicles are firm, melt your candy melts or chocolate in a microwave-safe bowl in 30 second increments, stirring each time.
- Dip the end of the popsicle stick into the melted chocolate before inserting them into the cakesicle to help them stay in place.
- After the sticks are inserted, dip the cakesicle into the melted chocolate, making sure it's fully coated by gently swirling and rotating to coat them in an even layer of chocolate.
- Gently tap the stick to remove excess chocolate.
- If you'd like, add sprinkles, edible glitter, or drizzle more chocolate over the top for extra flair.
- Wipe off any excess chocolate on your silicone mold and freeze for about 15 minutes until the chocolate sets.
- Place the finished cakesicles on a parchment-lined tray and let them sit at room temperature until the chocolate coating hardens.
- To remove the cakesicles from the molds, carefully loosen one of the corners of your silicone cakesicle mold and then peel the mold from the top to remove the entire pop.
- Carefully push the sticks out of the mold. If any extra chocolate candy coating is on the outer rim of your cakesicle, use a pair of clean scissors or a paring knife to carefully trim the chocolate off.
- Once the cakesicles have set at room temperature, consider placing them in individual treat bags or airtight containers for gifting or storing.