Biscoff Cheesecake Ice Cream Recipe
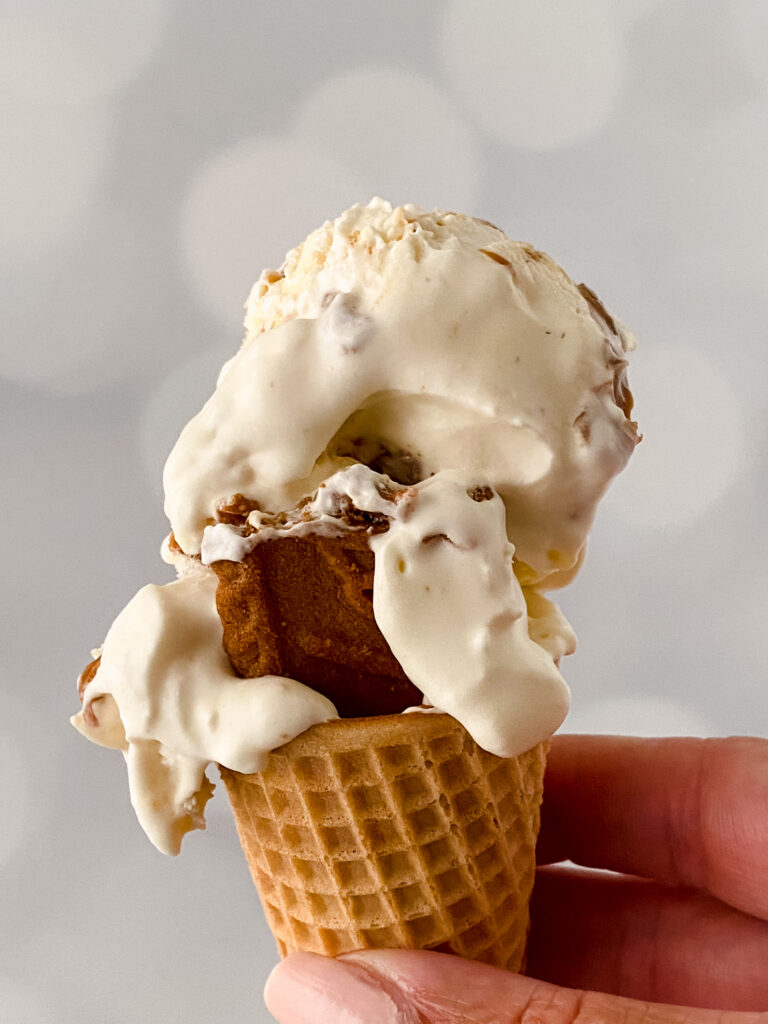
If you’ve been craving something cold, creamy, and full of that cozy cookie-butter flavor, Biscoff Cheesecake Ice Cream is perfect!
It’s the kind of treat that feels indulgent but is surprisingly simple to make right at home.
This no-churn ice cream has those rich, tangy cheesecake vibes mixed with the warm spice of Biscoff cookies, and it all comes together with just a handful of ingredients.
In just a few easy steps, you’ll have a homemade frozen dessert that tastes like something straight from your favorite ice cream shop.

This post contains affiliate links. As an Amazon Associate, I earn from qualifying purchases at no extra cost to you.
How to Make Biscoff Ice Cream:
- Start with very cold ingredients, especially the heavy cream. Cold cream whips faster and creates a lighter, creamier base.
- Next, whip the heavy cream until frothy, then mix in the sweetened condensed milk and vanilla until soft to medium peaks form. Avoid overmixing—stiff peaks can make the ice cream grainy after freezing.
- Prepare your no-bake cheesecake by beating softened cream cheese with sugar and vanilla, whipping the heavy cream separately, and folding it together until smooth and fluffy.
- Melt the cookie butter in the microwave for 10–15 seconds until it’s pourable but still thick.
- Stir the crushed Biscoff cookies into the whipped cream mixture.
- Now get out your metal loaf pan, which freezes faster and helps the mixture set evenly.

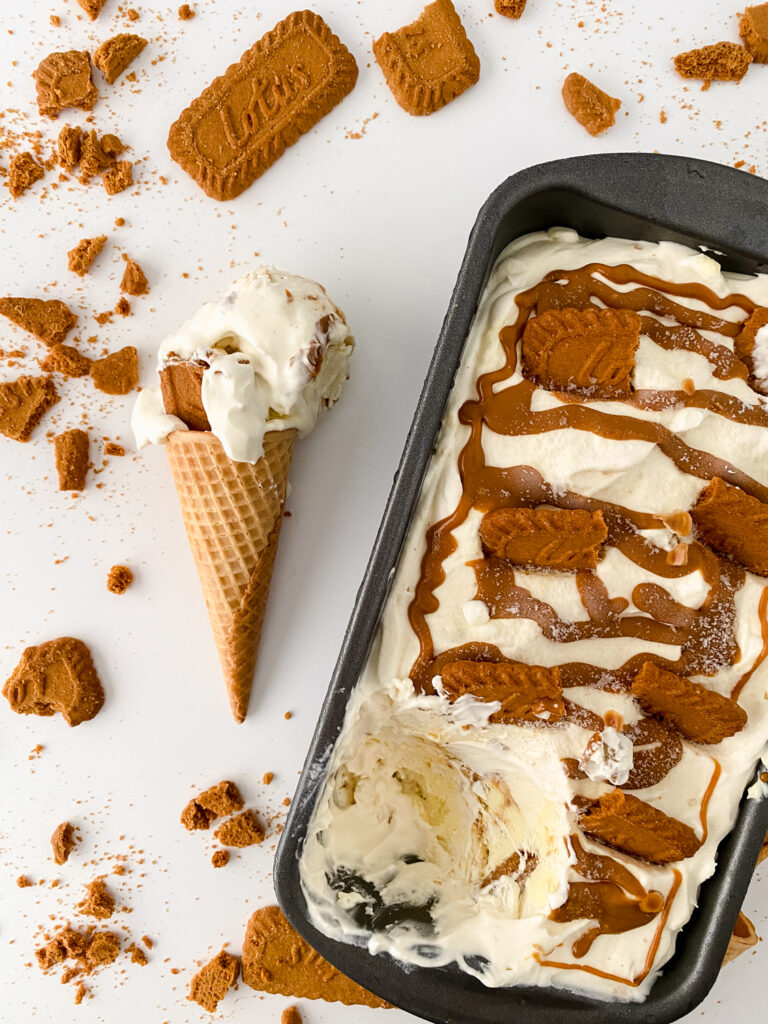
- Begin layering in the loaf pan: add a third of the whipped cream mixture, drizzle with melted cookie butter, and add spoonfuls of the cheesecake filling.
- Repeat this process, then finish with a final layer of the whipped cream mixture, cookie butter swirls, cheesecake dollops, and extra cookie crumbs on top.
- Once assembled, freeze for 6 hours for a soft set or overnight for a firmer scoop.
- To store, press parchment paper directly onto the surface to prevent ice crystals. Transfer to airtight containers, seal tightly, and freeze promptly for the best texture and freshness.
Don’t Forget To…
- Scroll down to print the full recipe with step-by-step instructions and exact measurements.
- Check out my Kitchen Essentials for the pans, mixing bowls, and baking tools I use to make this recipe a breeze.
- Save or share this recipe on Pinterest!
A hand mixer works perfectly. Whipping cream by hand is possible but takes much longer.
Absolutely! It’s a great shortcut and works perfectly.

Be sure to check out these other delicious Biscoff recipes like this Biscoff Bundt Cake for even more cookie-butter goodness!
Farberware Nonstick Bakeware 9-Inch x 5-Inch Loaf Pan, Gray –SMARTAKE 200 Pcs Parchment Paper Baking Sheets, 12×16 Inches Non-Stick Precut Baking Parchment, for Baking Grilling Steaming Bread Cup Cake Cookie and More (Unbleached)
4 oz Ice Cream Scoop with Trigger Release #8 – Stainless Steel Versatile Tool for Baking, Cookies and Desserts Spoons, Dishwasher-Safe, Ergonomic Design, Great as Christmas Gifts for Dessert Lovers
KitchenAid Artisan Series 5 Quart Tilt Head Stand Mixer with Pouring Shield KSM150PS, Blue Velvet
Lotus Biscoff Cookies, 8.8 Oz
Lotus Biscoff Cookie Butter Spread, Creamy, non GMO + Vegan, 25.4oz


Biscoff Cheesecake Ice Cream Recipe
Ingredients
- 2 Cups Heavy Whipping Cream
- 14 Ounce Can Sweetened Condensed Milk
- 1 ½ cups no bake cheesecake
- 5-7 biscoff cookies
- ¼ cup biscoff cookie butter
- 1 Tablespoons vanilla extract
Instructions
- Whip the heavy cream for about 2-3 mins until frothy.
- Add in the vanilla & sweetened condensed milk and mix on high until soft peaks form
- Stir in crushed biscoff cookies
- Add 1/3 to your pan.
- Add melted biscoff cookie butter and a few dollops of no bake cheesecake.
- Add another layer of whipped cream mixture.
- Top with cookie butter and cheesecake filling.
- Add a final layer of whipped cream, cookie butter and no bake cheesecake.
- Sprinkle additional crunchy biscoff cookie crumbs on top for an extra crunch that enhances the overall texture.
- To store no churn Biscoff ice cream, transfer it to airtight containers with a tight-fitting lid, top with a piece of parchment paper to minimize freezer burn, and seal tightly to prevent air exposure. Place containers in the back of the freezer, label with flavor and date, and ensure prompt freezing for optimal texture and freshness.
- Freeze for 6 hours for a soft set or 8+ hours until ready to serve prior to enjoying your delicious ice cream.


2 Comments