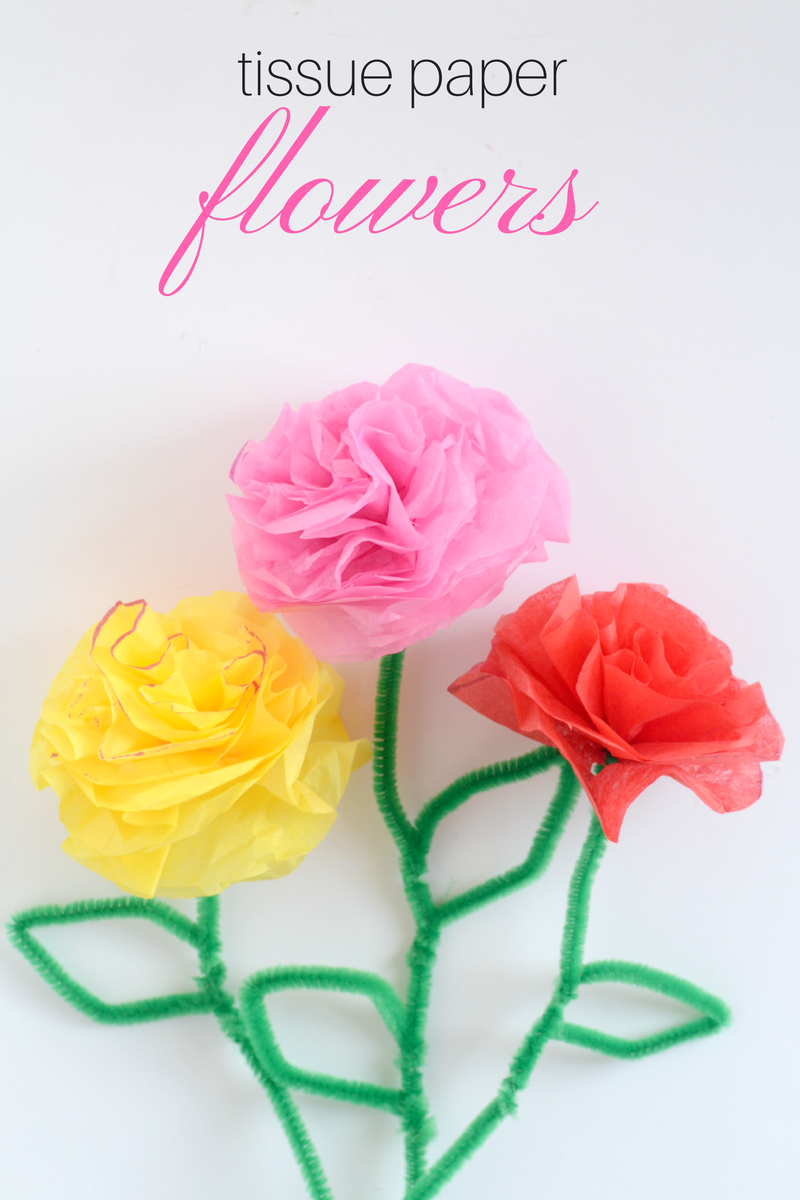
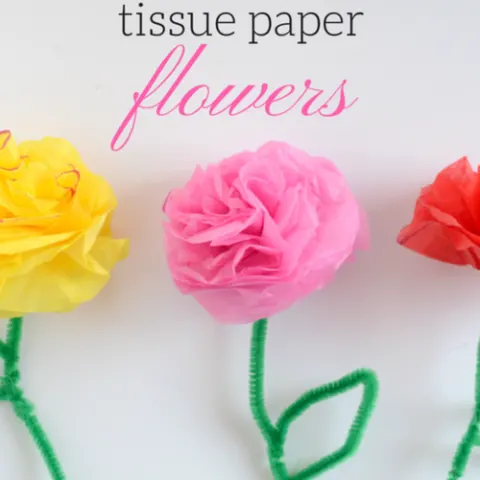
Discover the art of crafting vibrant tissue paper flowers with our easy step-by-step tutorial. Discover tips and tricks for crafting your own flowers that will brighten up any occasion using a piece of tissue paper.
Whether you’re looking to add a pop of vibrancy to your home decor, create stunning party decorations, or simply indulge in a fun and creative craft project, learning
how to make a flower with tissue paper is the perfect way to unleash your creativity.
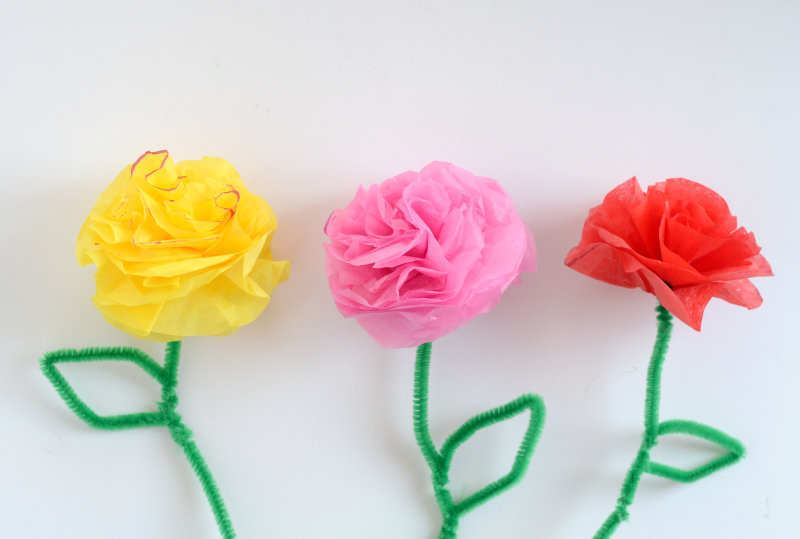
Making these easy tissue paper flowers is such a fun project. We’re teaching you how to make flowers with tissue paper with our DIY tutorial.
Learn how to select the right materials, choose color combinations, and master the art of folding and shaping tissue paper petals. Before you know it, you’ll have a collection of gorgeous tissue paper flowers ready to brighten up any space.
Tissue paper flowers offer endless creative possibilities. Experiment with different styles of flowers, sizes and colors to create your own tissue paper flowers.
These flowers can be used in various ways, from adorning gift boxes and wreaths to creating centerpieces and backdrop decorations.
Tissue paper flowers are all about creativity and experimentation. Don’t worry if your first attempts aren’t perfect. Practice, try different color combinations, and have fun!
Be sure to follow along to learn how to make flowers out of tissue paper!
How to Make Tissue Paper Flowers
The first step is to gather all of your supplies together. Below, I have a printable list for you, so just take it to the store with you! You can find everything either at the dollar tree, your favorite retail store, or craft store.
Supplies
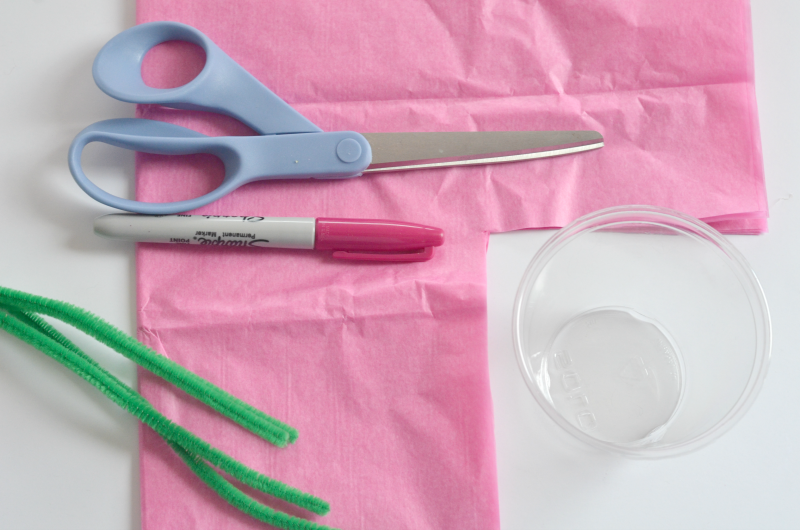
To make these adorable tissue paper flowers, you will need:
- pipe cleaners for the stem,
- full sheets of tissue paper in different colors
- a marker,
- a small cup and
- a pair of scissors
Instructions
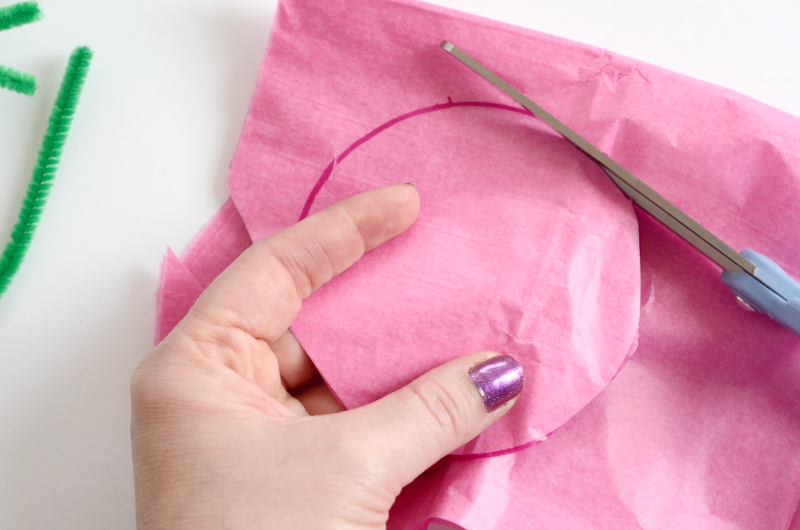
Layer your tissue paper sheets together. We played around with different amounts of pieces of paper and discovered that a layer of tissue paper from 8-12 sheets made a pretty flower. You can use different colors of tissue paper or the same color.
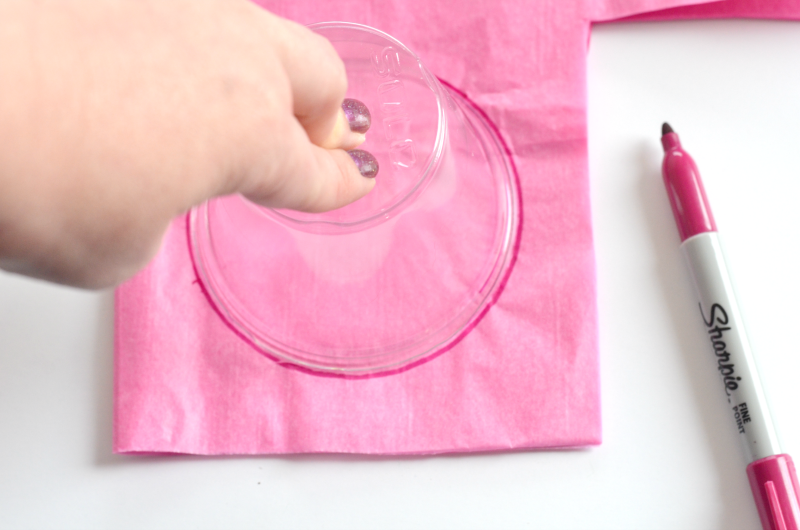
Using your cup as a guide, trace a circle onto your tissue paper and cut it out, through all your layers of tissue paper. It doesn’t have to be perfect, so don’t worry about that.
With the tip of your scissors, carefully make 2 small holes in the center of your tissue paper circle (the center of your flower. Insert one end of your pipe cleaner into the first hole and loop it down into the second hole.
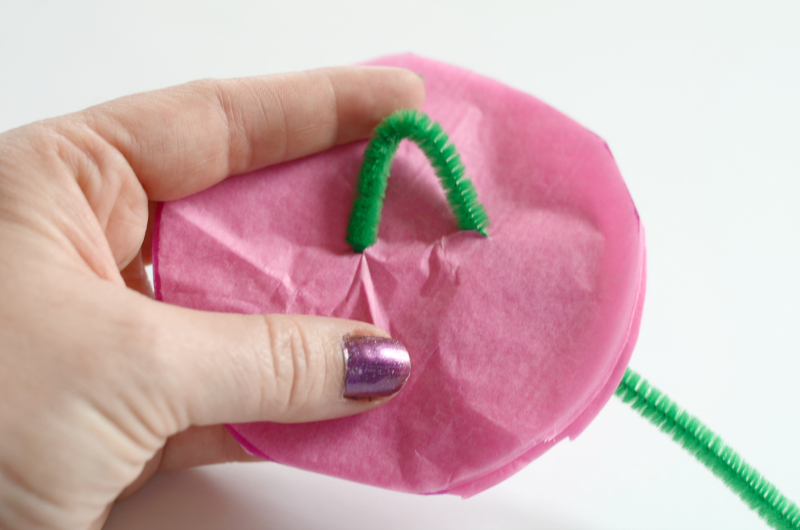
Twist the pipe cleaner around itself to secure your pieces of tissue paper circles onto you pipe cleaner. This is going to be the outer petals of your flower and your stem!

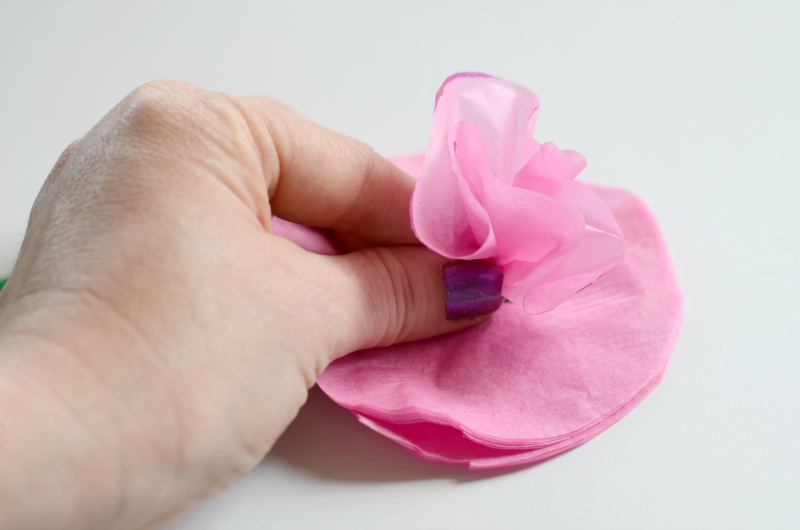
Now onto making our flower, the fun part! Scrunch up the first layer of your tissue paper at the base where it connects to your pipe cleaner. Keep doing this for each layer, sort of turning as you go, so each layer is scrunched together at different angles, each with a different look.
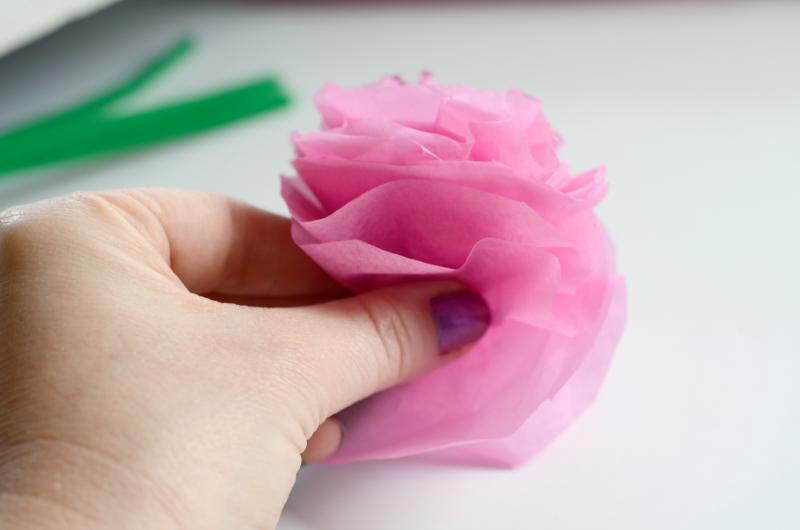
Carefully separate each layer of tissue paper, pulling them towards the center. Fluff and adjust the petals to create a full and natural-looking flower shape.
Trim the ends of the folded tissue paper into rounded or pointed shapes to create different petal styles. You can also experiment with cutting wavy or scalloped edges for unique effects.
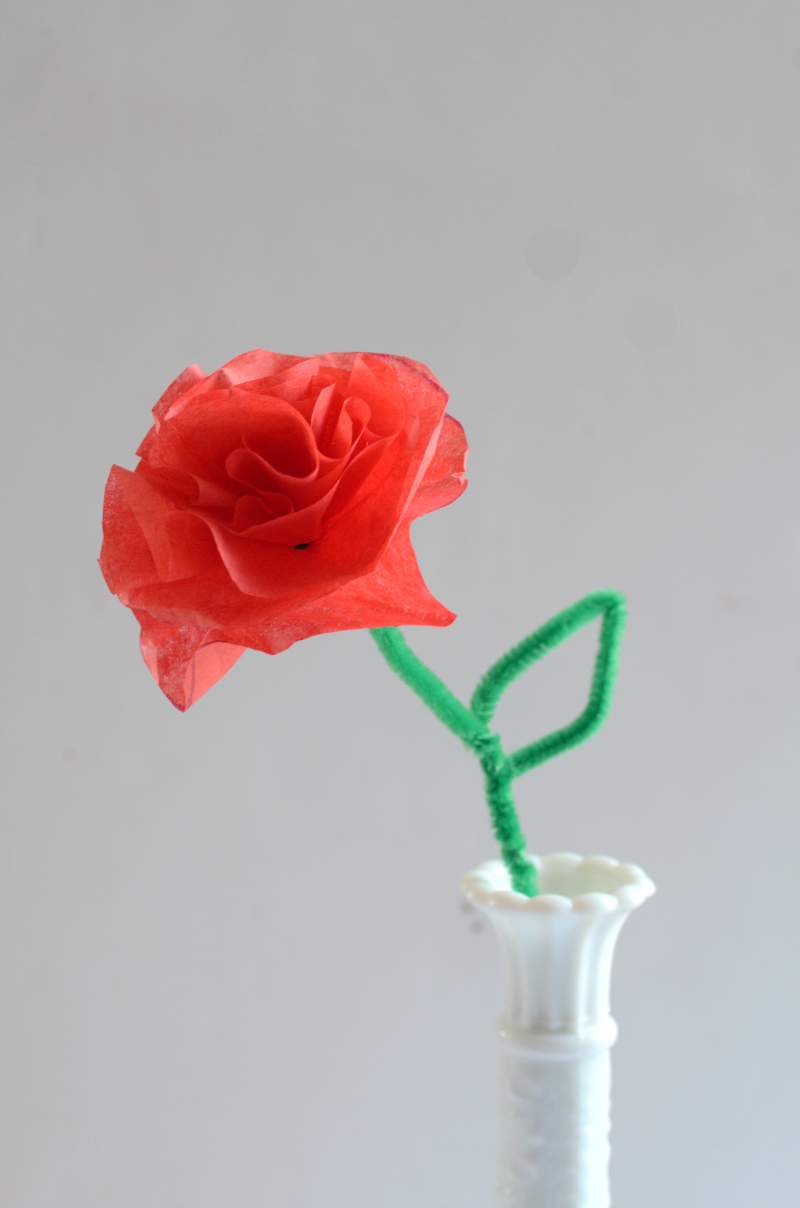
When you get to the bottom layer of the ends of the tissue paper, you are all finished with your finished flower!
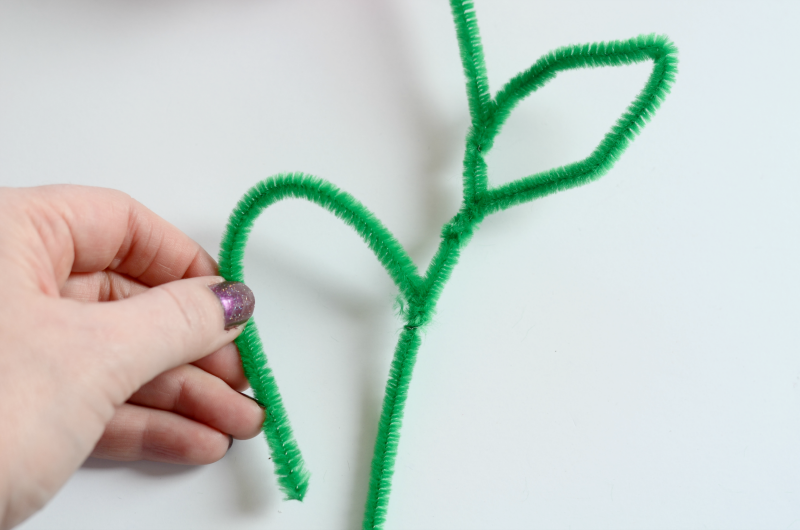
To make the leaves, just take another pipe cleaner and cut it into 2 pieces. Twist each piece onto the pipe cleaner stem and shape into a leaf like so.
How to Use DIY Tissue Paper Flowers
Tissue paper flowers offer endless possibilities. Consider crafting a vibrant bouquet as a centerpiece, decorating gift packages, or stringing them together to create whimsical garlands. Explore our ideas to discover how these simple yet versatile flowers can elevate your home decor, celebrations, and events.
- Tissue paper flowers are great decorations for parties and special occasions. Use them to create eye-catching centerpieces, decorate party tables, or hang them from ceilings or walls to create a festive atmosphere.
- Take your gift-giving to the next level by attaching a tissue paper flower to gift boxes, bags, or wrapping paper. They will add a personalized and charming touch to your presents.
- Paper flowers are a budget-friendly alternative to real flowers for weddings and events. Create a beautiful bouquet, boutonnieres, corsages, and floral arrangements that will not only save you money but also last as beautiful mementos of the special day.
- Use tissue paper flowers as photo props for parties, photo shoots, or themed events. They can add a whimsical and playful element to your pictures, making them even more memorable.
- Make tissue paper flowers as party décor or table decorations at Baby Showers, on Mother’s Day, Valentine’s Day, at a Birthday Party, Bridal Showers and more!
Remember, these are just a few ideas to get you started. Feel free to let your imagination run wild!
Looking for more flower crafts? Check these out:
Tissue Paper Flowers FAQ
How do I select the right tissue paper for making flowers?
Look for lightweight and thin tissue paper in vibrant colors or patterns. It should be easy to fold and manipulate without tearing. The thinner the tissue paper, the easier it will be to fold and shape.
Can I use different sizes of tissue paper to make flowers?
Absolutely! Experiment with different sizes to create flowers of varying dimensions. Mixing different sizes can add depth and visual interest to your creations.
How many sheets of tissue paper do I need for a paper flower?
Typically, using around 8-10 layers of tissue paper will give your flowers a full and fluffy look. However, you can adjust the number of layers based on your desired outcome.

easy tissue paper flower tutorial
Materials
- Tissue paper in various colors
- Scissors
- pipe cleaners, green
- marker
- cup, to make circle
Tools
- Scissors
Instructions
- Layer your tissue paper together. We played around with different amounts and discovered that anything from 8-12 layers of tissue paper made a pretty flower.
- Using your cup as a guide, trace a circle onto your tissue paper and cut it out, through all your layers of tissue paper. It doesn’t have to be perfect, so don’t worry about that.
- With the tip of your scissors, carefully make 2 small holes in the center of your tissue paper circle.
- Insert one end of your pipe cleaner into the first hole and loop it down into the second hole.
- Twist it around itself to secure your tissue paper circles onto you pipe cleaner. This is going to be your flower and your stem!
- Now onto making our flower.
- Scrunch up the first layer of your tissue paper at the base where it connects to your pipe cleaner.
- Keep doing this for each layer, sort of turning as you go so each layer is scrunched together at different angles. Your tissue paper flower is complete! You can make leaves too if you’d like.
- To make the leaves just take another pipe cleaner and cut it into 2 pieces. Twist each piece onto the pipe cleaner stem and shape into a leaf like so.
Preeti Vishwakarma
Friday 11th of June 2021
Very nice video
Beth
Tuesday 4th of May 2021
The pipe cleaner leaves and stems are brilliant!! We will be featuring you and this project this week on the Creative Crafts Linky Party! Have a great week and thanks for linking up! Creatively, Beth
momma lew
Tuesday 4th of May 2021
Thanks so much!!!
Karen
Wednesday 13th of January 2021
Theses were very easy to make and they look so pretty. I have read some other instructions on making tissue paper flowers and yours by far are the best. Thanks!
momma lew
Wednesday 13th of January 2021
That is wonderful to hear! Feel free to email me a picture of your tissue paper flowers, I would love to see your finished product!
14 Beautiful Pipe Cleaner Flowers (Easy Pipe Cleaner Craft) - Miss Wish
Friday 8th of May 2020
[…] […]
20 Paper Crafts That Will Inspire Anyone - Craftsy Hacks
Wednesday 6th of May 2020
[…] Credit: mommalew.com […]