
Biscoff Cheesecake Bars Recipe
Biscoff Cheesecake Bars are the kind of dessert that’s creamy, crave-worthy, and unbelievably simple.
These bars bring together the rich flavor of cheesecake with that irresistible spiced cookie crunch, making them perfect for gatherings, bake sales, or a cozy night in.
Find out how easy it is to layer those warm cookie butter notes into every bite and create a dessert recipe everyone will be talking about.

As an Amazon Associate, I earn from qualifying purchases. This post may contain affiliate links, which means I may receive a small commission at no extra cost to you.
- To make Biscoff Cheesecake Bars, start by crushing Biscoff cookies and mixing them with melted butter to form the crust.
- Press it into a greased or parchment-lined pan and bake for 10 minutes, then let it cool.
- For the filling, beat softened cream cheese with sugar and vanilla until smooth, then fold in Cool Whip.

- Spread the creamy mixture over the cooled crust, top with extra crushed cookies, and refrigerate for at least 4 hours or overnight until fully set.
- Slice into squares and store the bars covered in the fridge to keep them fresh.

Don’t Forget To…
- Scroll down to print the full recipe with step-by-step instructions and exact measurements.
- Check out my Kitchen Essentials for the pans, mixing bowls, and baking tools I use to make this recipe a breeze.
- Save or share this recipe on Pinterest!

To melt Biscoff for cheesecake, microwave the spread for 20–30 seconds until smooth and pourable, stirring well. If needed, heat in short 10-second bursts until fully melted. Use it right away, as it thickens again as it cools.
Absolutely! Freeze tightly wrapped bars for up to 2 months. Thaw in the fridge before serving.
Yes—this is a great make-ahead dessert. Prepare them the day before and chill overnight.
It usually means the butter-to-cookie ratio was off. Make sure the crumbs are finely crushed and fully mixed with the melted butter.
Don’t miss these other delicious ideas that pair perfectly with these treats.
- Cool Whip Recipes are ideal when you need something light, fluffy, and incredibly easy to whip together.
- Biscoff Recipes like Biscoff Cheesecake Ice Cream or Biscoff Bundt Cake bring that warm, cookie-butter flavor into a whole new lineup of irresistible desserts.
- No Bake Desserts are perfect for days when you want something sweet without turning on the oven.
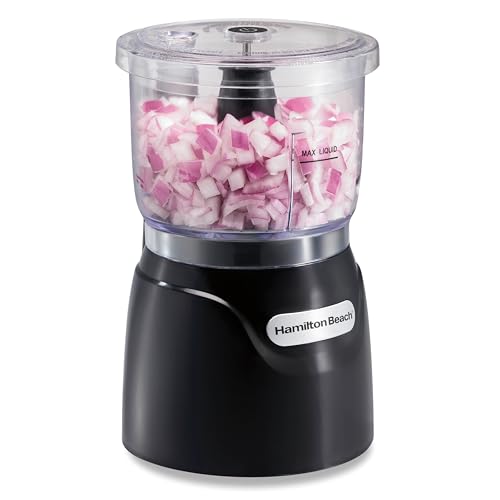
Hamilton Beach Electric Vegetable Chopper & Mini Food Processor, 3-Cup, 350 Watts, for Dicing, Mincing, and Puree, Black (72850)Lotus Biscoff Cookies, 8.8 Oz
Lotus Biscoff Cookie Spread, 14 Oz
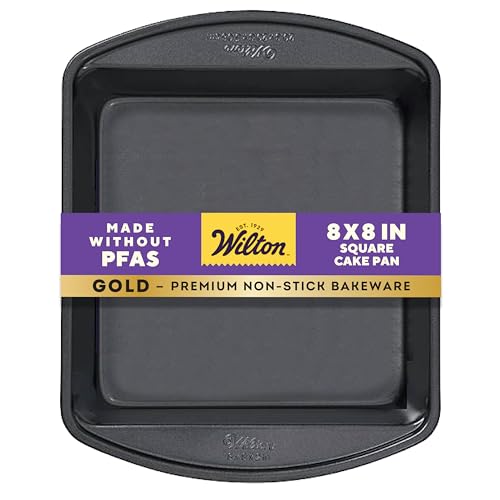
Wilton Gold Non-Stick 8 x 8 Inch Square Brownie Cake Pan, Stainless Steel Bakeware, Made without PFAS, Packaging May Vary



Biscoff Cheesecake Bars Recipe
Ingredients
- 1 ½ cups Biscoff cookies crushed (about 14 cookies)
- 4 Tbsp unsalted butter melted
- 1 8 oz container cool whip
- 16 ounces cream cheese softened
- ⅔ cup sugar
- 1 tsp vanilla extract
Instructions
- Preheat the oven to 350 degrees.
- Ensure that the pan is well-greased or lined with parchment paper for easy removal of the bars after baking.
- Crush the biscoff cookies into crumbs using a rolling pin or food processor.
- Mix the crust mixture with the melted butter.
- Flatten into the bottom of the prepared pan.
- Cook for 10 mins, remove and let cool.
- To make the cheesecake layer, mix room temperature cream cheese, granulated sugar and vanilla until smooth in a large bowl.
- Add in the cool whip and whip until well incorporated.
- Pour the cheesecake filling on top of the cooled biscoff crust.
- Garnish with more crushed cookies.
- Allow the bars to cool, then refrigerate for at least 4 hours or overnight.
- Once set, cut into squares and savor the blissful combination of Biscoff and cheesecake.
- Keep them refrigerated in an airtight container or covered in plastic wrap for optimum freshness.
One Comment