Discover how to make your own yogurt in your Instant Pot with our easy step-by-step guide. Perfect for breakfast, snacks, or even as a base for savory dishes!


With an Instant Pot, making homemade yogurt has never been easier or more delicious. Whether you prefer it plain or flavored, our guide will walk you through the simple steps of making yogurt in your instant pot.
The process typically takes around 8-12 hours, including the time for the milk to heat, cool, and ferment. However, with just a few minutes of hands on time, you can go about your day while your Instant Pot works its magic.
Is it worth it to make yogurt in an Instant Pot?
This instant pot yogurt recipe is definitely worth it! It offers cost savings compared to store-bought yogurt and provides control over ingredients, allowing for customization to suit individual preferences. You will find that the resulting homemade yogurt will have a fresher taste.
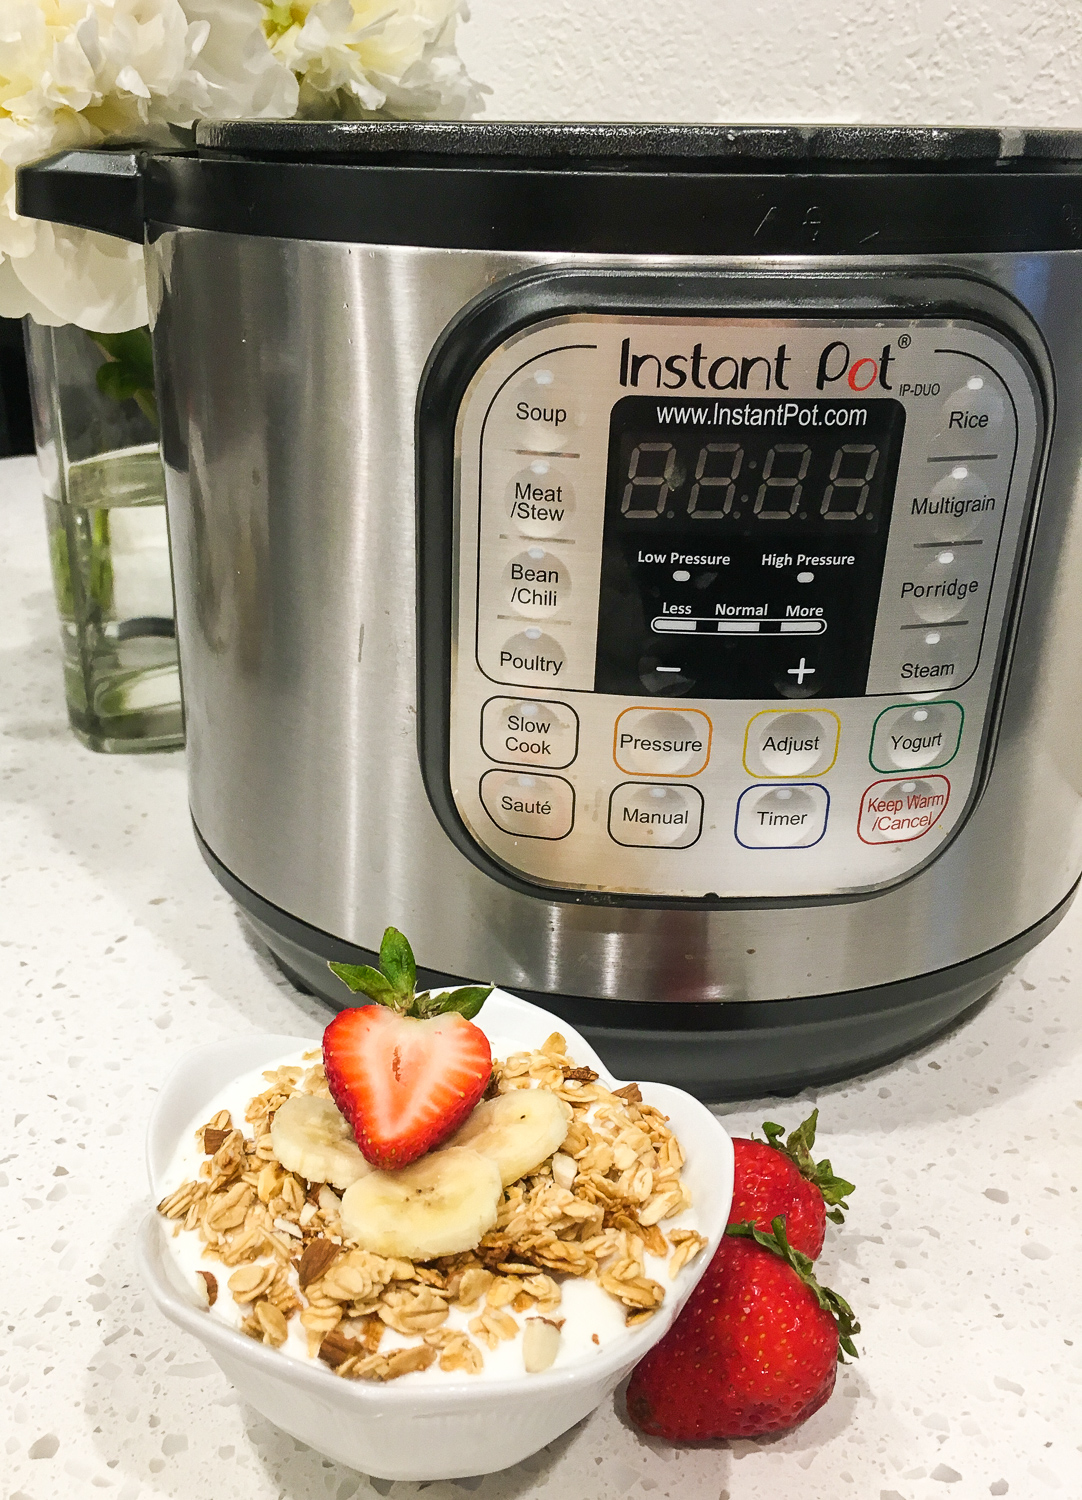
How to make Yogurt in an Instant Pot
Equipment Needed:
- Instant Pot Pressure Cooker or any type of Electric Pressure cookers with ‘Yogurt’ function
- Instant Read Digital thermometer or Candy Thermometer
- Cheesecloth or coffee filters
Ingredient List:
- a gallon of milk
- 1/4 cup plain whole milk yogurt or yogurt starter culture
Start by pouring your desired amount of milk into the Instant Pot insert.


How do you boil yogurt in an Instant Pot?
Close the Instant Pot lid and select the “Yogurt” function. Use the “Adjust” button to select the “Boil” setting. Allow the milk to heat up until it the temperature reaches 180°F.
Once the milk has reached the desired temperature, remove the Instant Pot liner and let it cool down to around 110° degrees F. You can speed up this process by placing the liner in a sink filled with cold water. This usually takes about 30-45 minutes.

Once the milk has cooled, whisk in a small amount of yogurt starter or a few tablespoons of store-bought yogurt with live active cultures. This will inoculate the milk with the good bacteria needed to ferment into yogurt.
Place the Instant Pot liner back into the base unit and close the lid. Set the Instant Pot to the “Yogurt” function again, but this time use the “Adjust” button to select either the “Normal” or “Low” setting, depending on your preference. The longer the incubation time, the tangier the yogurt will be.
Let the yogurt incubate in the Instant Pot for 8-12 hours, depending on your desired level of tanginess. Once the incubation period is complete, carefully remove the liner from the Instant Pot and transfer it to the refrigerator to chill for at least 4 hours before serving.
To make homemade Greek yogurt, line a strainer with your sieve and place over a large bowl.


Pour yogurt into the strainer and place in the refrigerator to strain for several hours to overnight. For thick greek yogurt, allow your yogurt to strain for a long time.
The next day when your batch of yogurt is done straining, discard the liquid whey.
For best results, process your yogurt mixture with an immersion blender or hand mixer until creamy and smooth if you are finding it to be lumpy still.
Once chilled, your yogurt is ready to enjoy!


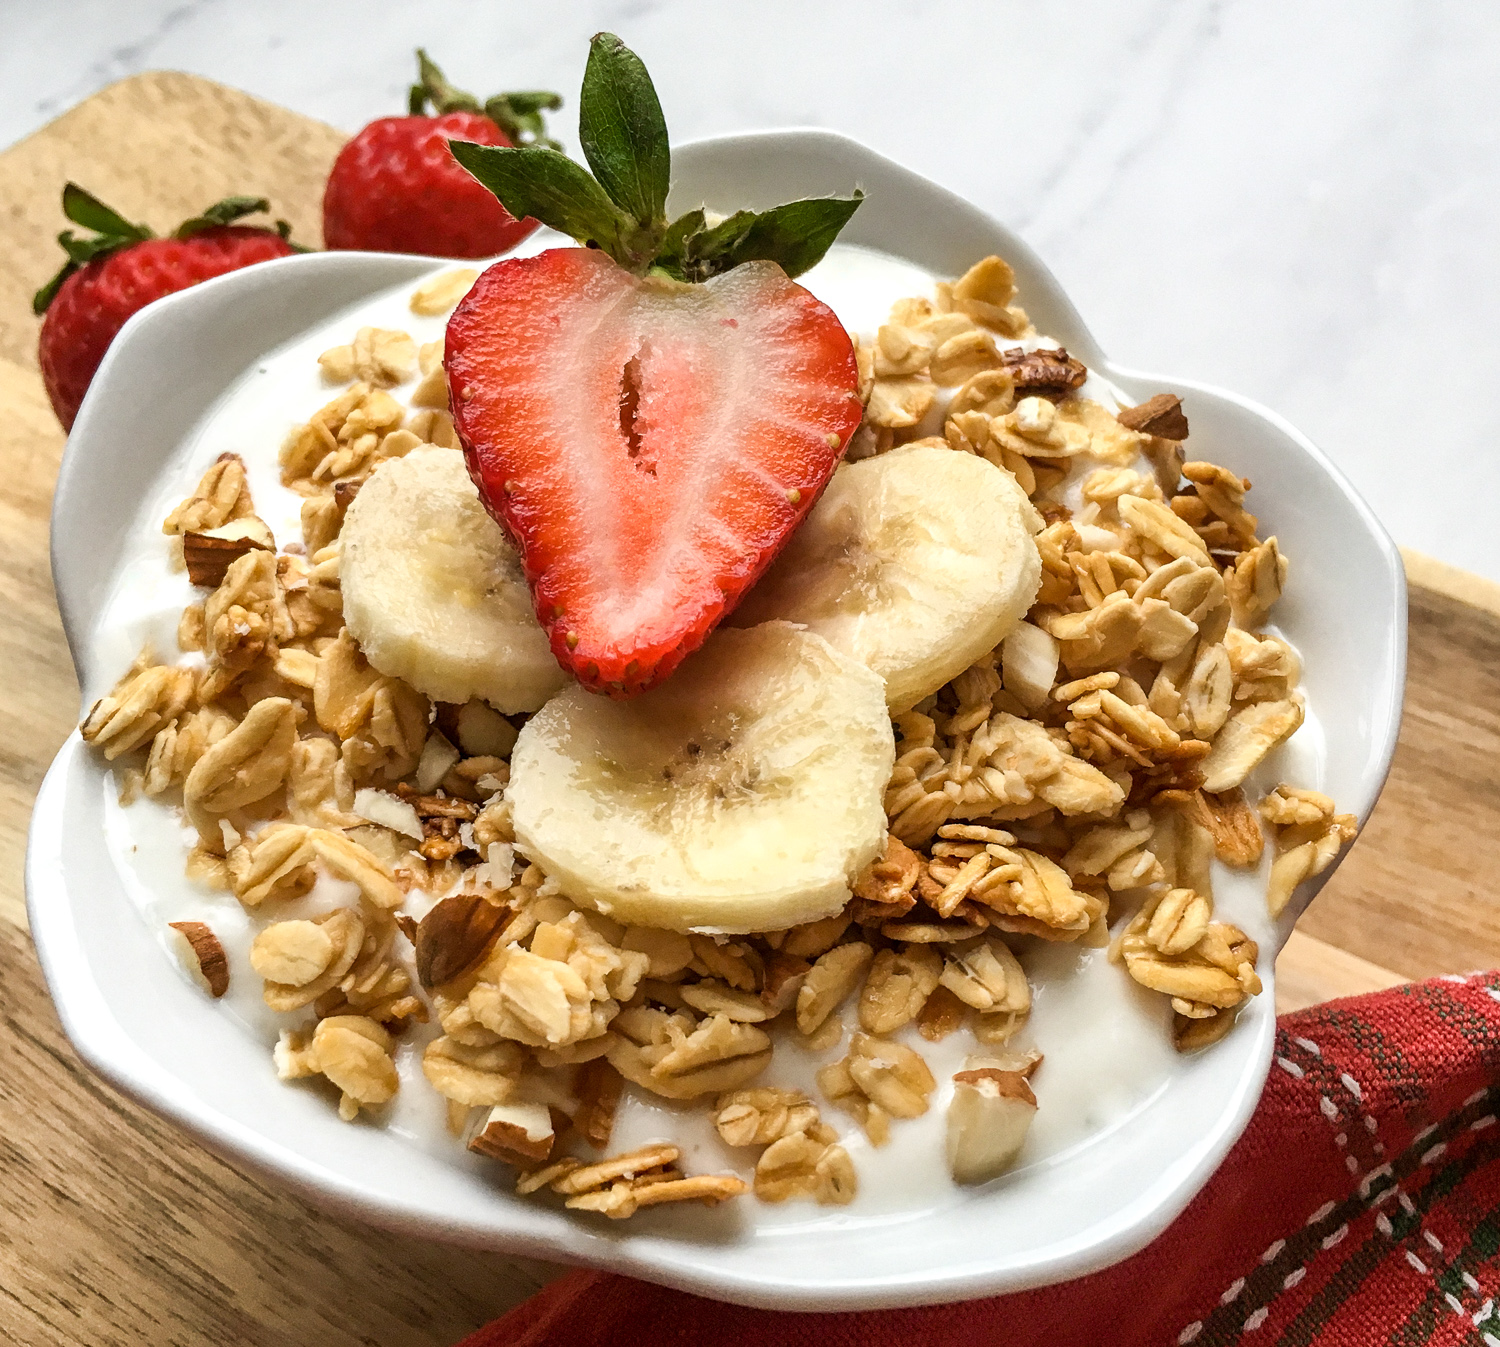
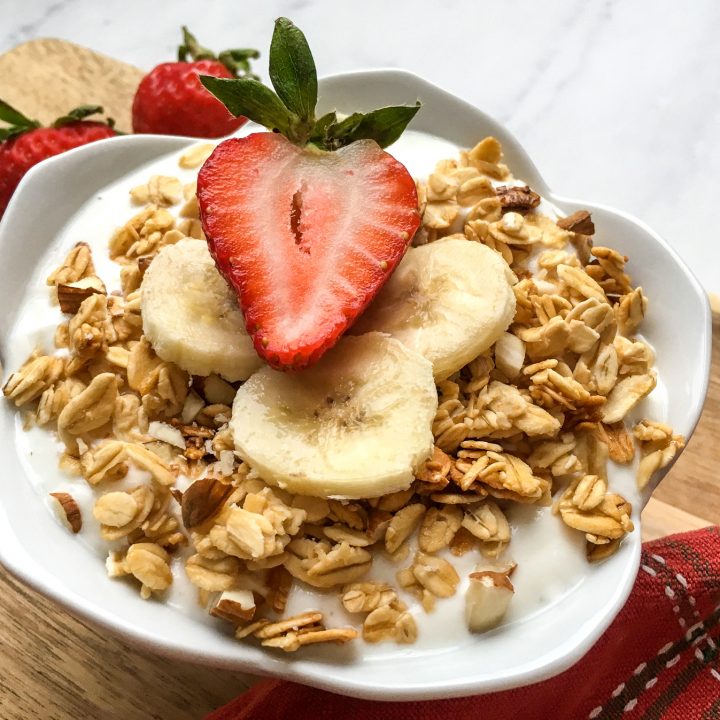
Serve your creamy yogurt plain, or customize it with your favorite toppings and mix-ins like fresh fruit, honey, granola, or nuts.
Once your yogurt is finished fermenting, you can stir in flavorings like pure vanilla extract, maple syrup, honey, or fruit preserves to create flavored yogurt.


Store your finished yogurt in an airtight container in the refrigerator for a week to 10 days.
Try These Recipes:
Instant Pot Yogurt FAQs
How long does yogurt take to set in Instant Pot?
The time it takes for yogurt to set in an Instant Pot can vary depending on factors such as the incubation temperature, the type of milk used, and personal preference for the thickness and tanginess of the yogurt. In general, yogurt typically takes around 8-12 hours to set in an Instant Pot. However, some people prefer to let it incubate for longer periods, up to 24 hours, for a thicker and tangier yogurt.
How does the yogurt setting work on the Instant Pot?
The yogurt setting on an Instant Pot works by creating a controlled environment for fermenting milk into yogurt. When you select the yogurt function, the Instant Pot maintains a consistent temperature ideal for yogurt fermentation, typically around 110°F to 115°F. During this process, the good bacteria that is present in a yogurt starter multiply and convert the lactose in the milk into lactic acid, which thickens and flavors the yogurt.
The Instant Pot’s yogurt function allows for customizable incubation times, allowing users to achieve their desired level of tanginess and thickness in their homemade yogurt.
What happens if you leave yogurt in Instant Pot too long?
Leaving yogurt in an Instant Pot for too long can result in over-fermentation, leading to excessively tangy yogurt. This occurs because the beneficial bacteria present in the yogurt culture continue to multiply and consume the lactose in the milk beyond the desired fermentation period.
As a result, the yogurt becomes increasingly acidic and may develop an unpleasant taste and texture. Additionally, prolonged incubation can cause the yogurt to become overly thick and curdled. It’s essential to monitor the yogurt periodically during the incubation process and remove it from the Instant Pot once it reaches the desired level of tanginess and thickness to prevent over-fermentation.
Where do you find Yogurt Starter?
You can purchase yogurt starter in the grocery store. It’s important for your creamy greek yogurt starter to have active cultures and live cultures. The easiest way to have a starter yogurt is to save about 2 tablespoons from your previous batch. You can freeze starter so you always have it on hand to make this amazing yogurt recipe!


How to Make Yogurt in an Instant Pot
Here's how to make yogurt in an Instant Pot. Yogurt in an Instant Pot is creamy and delicious. Plus, it's super easy to do too with this how to guide!
Ingredients
- 8 cups whole milk
- 1/4 cup plain whole milk yogurt or yogurt starter
Instructions
Add your milk to your Instant Pot, select the Yogurt function. Select ‘Adjust’ until the screen says ‘boiL.”
Add lid and wait until the unit beeps to indicate it is finished boiling. The screen will say “YoGt” when done. Insert instant read thermometer into the milk to ensure it has reached at least 180°F.
Turn unit off and remove pot to allow milk to cool. For quicker results, place pot in a tub of cold water or leave on the counter to cool naturally.
When an instant read thermometer reads 110°F, the milk is cool enough, remove about a cup of the milk from the pot and stir the yogurt starter or 1/4 cup plain whole milk yogurt together before pouring into the rest of milk in the pot.
Return pot to unit and cover with the lid (no need to seal for this function). Select the ‘Yogurt’ function again and make sure the setting is on “Normal’ (NOT “Low” – very important!) and adjust time for 8-10 hours. The longer the incubation period, the tangier the yogurt will be.
When the yogurt is done incubating, remove the lid and turn unit off. Line a strainer with some cheesecloth and place over a large bowl.
Pour yogurt into the strainer and place in the refrigerator to strain for several hours to overnight. The longer the yogurt is allowed to strain, the thicker the yogurt will be.
Once yogurt is strained, discard the liquid whey (or save to use in smoothies) and transfer the yogurt to a bowl.
If the yogurt texture is lumpy, process with an immersion blender or hand mixer until creamy and smooth.
Serve immediately topped with fresh fruit, granola, and a drizzle of honey, if desired, or store in an airtight container in the refrigerator for several days.
Notes
Additional ingredients:
Fresh strawberries and bananas, sliced
Granola
honey
vanilla extract
If you like fruit flavored yogurt, you can mix in your favorite jam or fresh fruit to your individual servings.
Recommended Products
As an Amazon Associate and member of other affiliate programs, I earn from qualifying purchases.
-
 Sistema To Go Collection Yogurt Food Storage Containers, Pack of 2
 -
Watkins Original Gourmet Baking Vanilla Extract
-
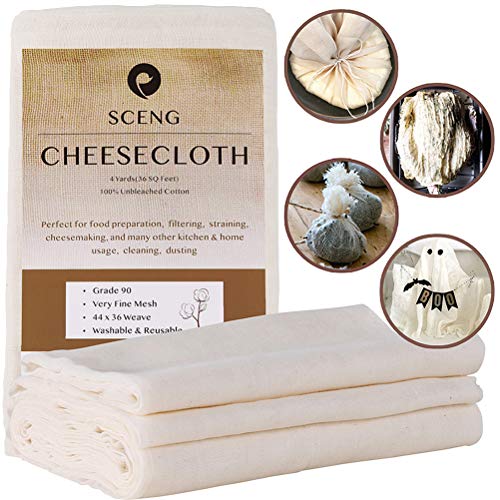 Cheesecloth, Grade 90, 36 Sq Feet, Reusable, 100% Unbleached Cotton Fabric, Ultra Fine Cheesecloth for Cooking - Nut Milk Bag, Strainer, Filter (Grade 90-4Yards)
 -
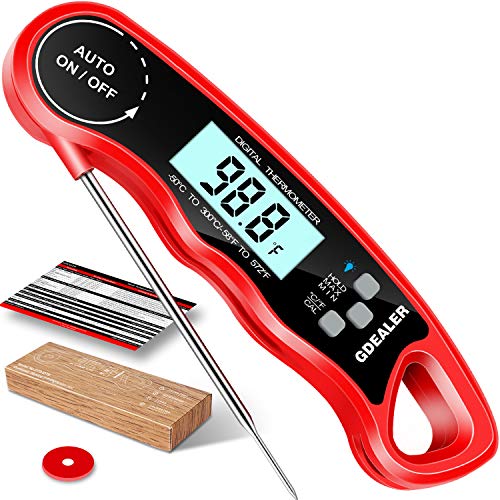 GDEALER DT09 Waterproof Digital Instant Read Meat Thermometer with 4.6” Folding Probe Calibration Function for Cooking Food Candy, BBQ Grill, Smokers
 -
 Yogurt Starter Cultures - Pack of 10 Freeze-dried Culture Sachets for Balkan Style Plain Yogurt (10)
 -
 Instant Pot DUO60 6 Qt 7-in-1 Multi-Use Programmable Pressure Cooker, Slow Cooker, Rice Cooker, Steamer, Sauté, Yogurt Maker and Warmer (Renewed)